Can LED Lights be used For Product Photography?
Can LED Lights be Used for Product Photography?
Would taking clear and detailed pictures without a background be harder? Well, that's not true with Erase.bg, you can remove the background and create a clear image for your product.
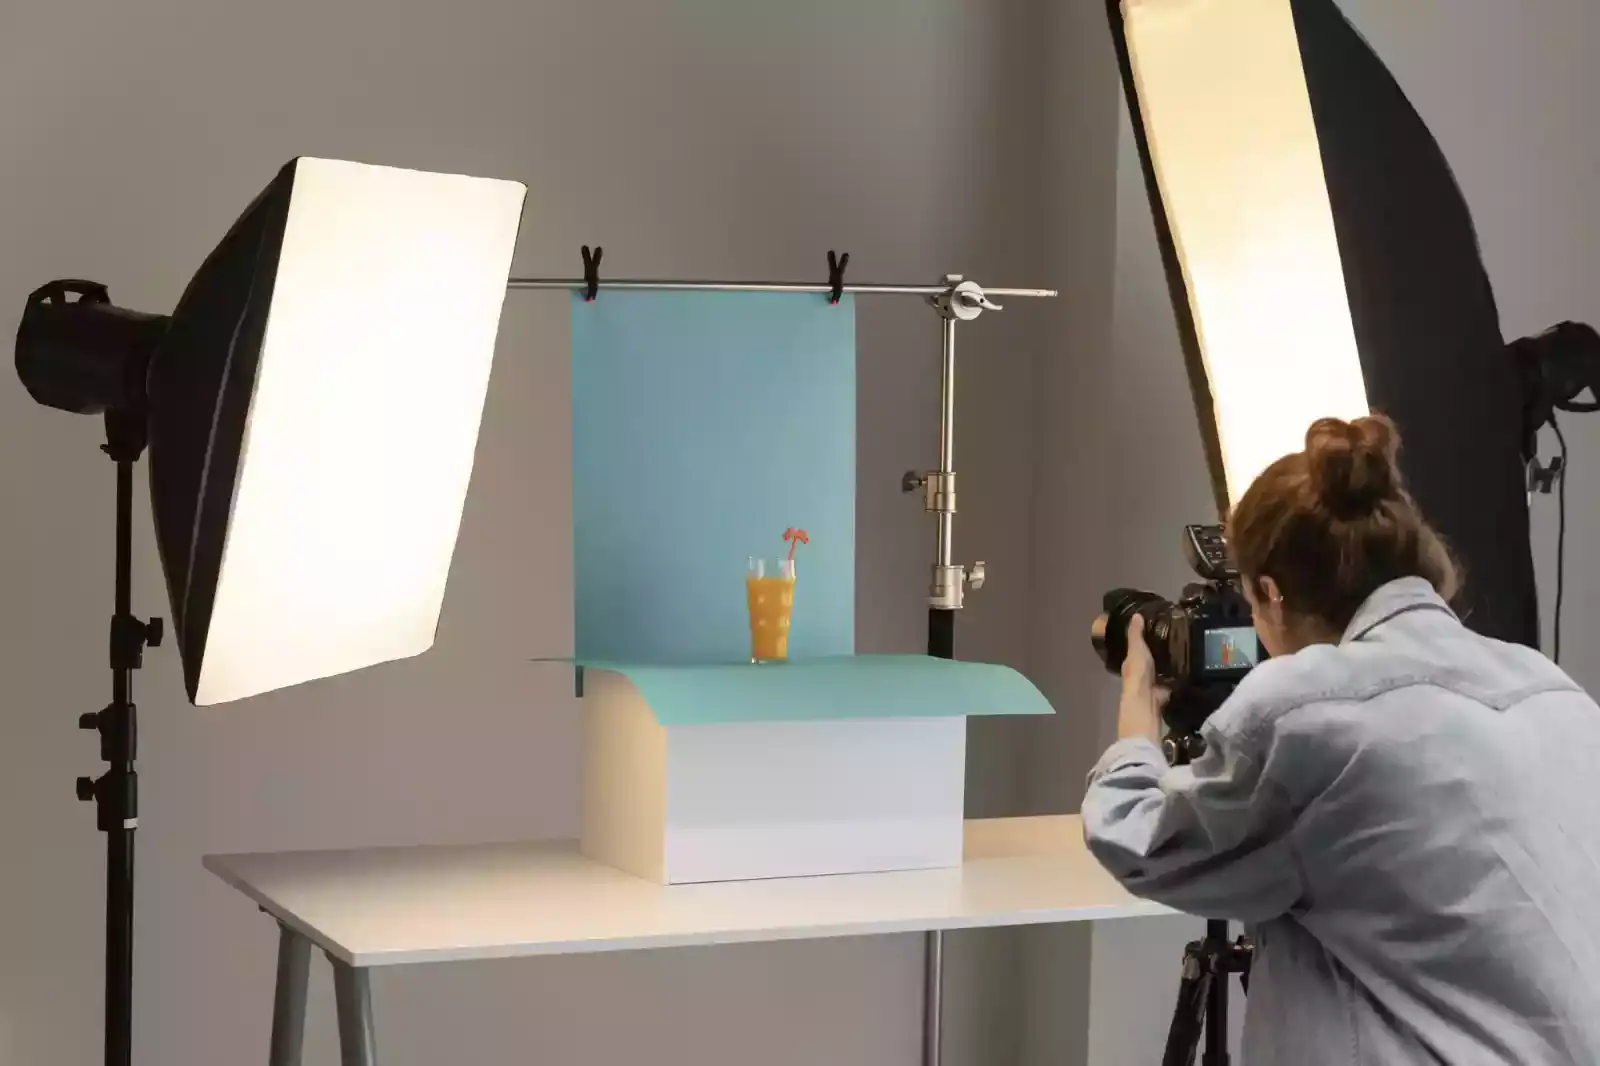
When it comes to product photography, you should frame the product's image in a way that intends customers to buy it. As you know, online shopping relies on good product photography. If you provide your customers with clear and attractive images of your product, then only you can win the customers' trust.
Regarding product photography, the lights influence the image's quality. LED lights at your preferred shoot location give life to the product's image. Let's find out more about LED lights in product photography.
Are LED Lights Good for Product Photography?
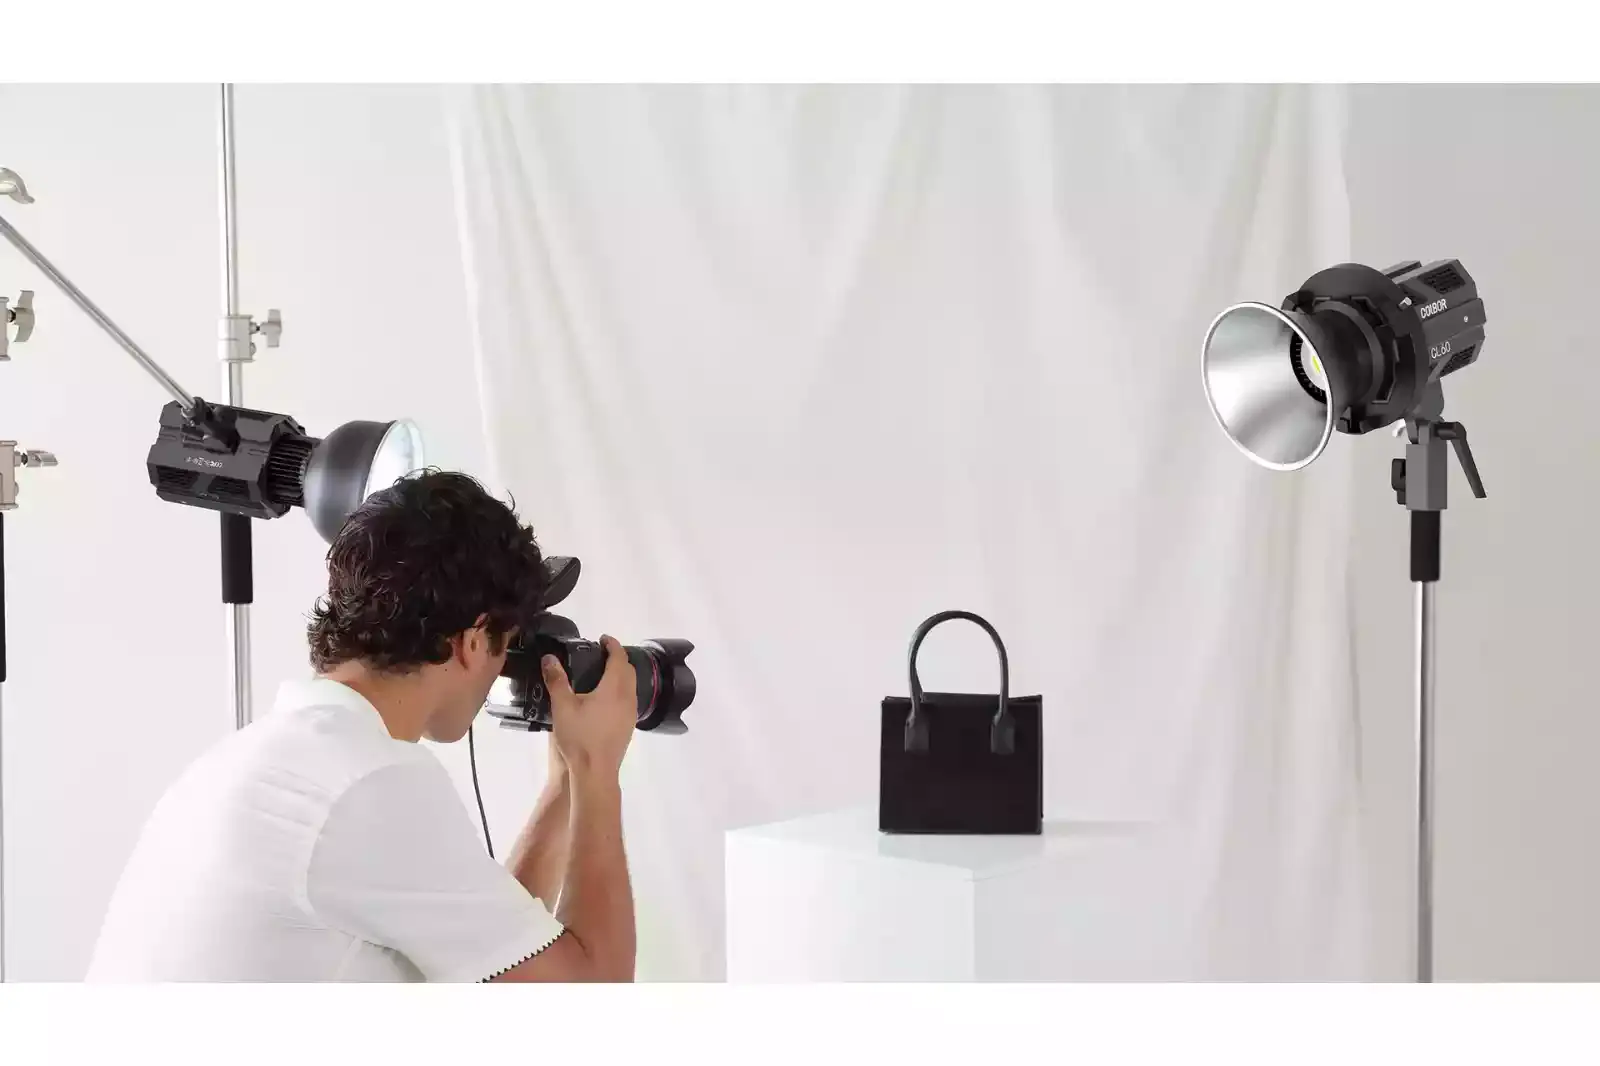
LED lights are always the best choice, rather than keep changing your camera settings for every other shot for product photography. The best thing about LED lights is that they consume less power and last a long time.
There are many reasons which LEDs have become popular in business applications. Most photographers prefer LED lights because they enhance product lighting. LED lights produce less heat, and they are energy efficient.
Good product photography can significantly impact expansion, sales and profitability. The background of the product should be appealing, which leads to attracting customers' attention.
It would be best if you had a lighting setup for premium-quality images, and for that, you need LED light to make your product image look more appealing. Here are some of the lighting equipment that may be useful for you when shooting:
Light Modifiers:
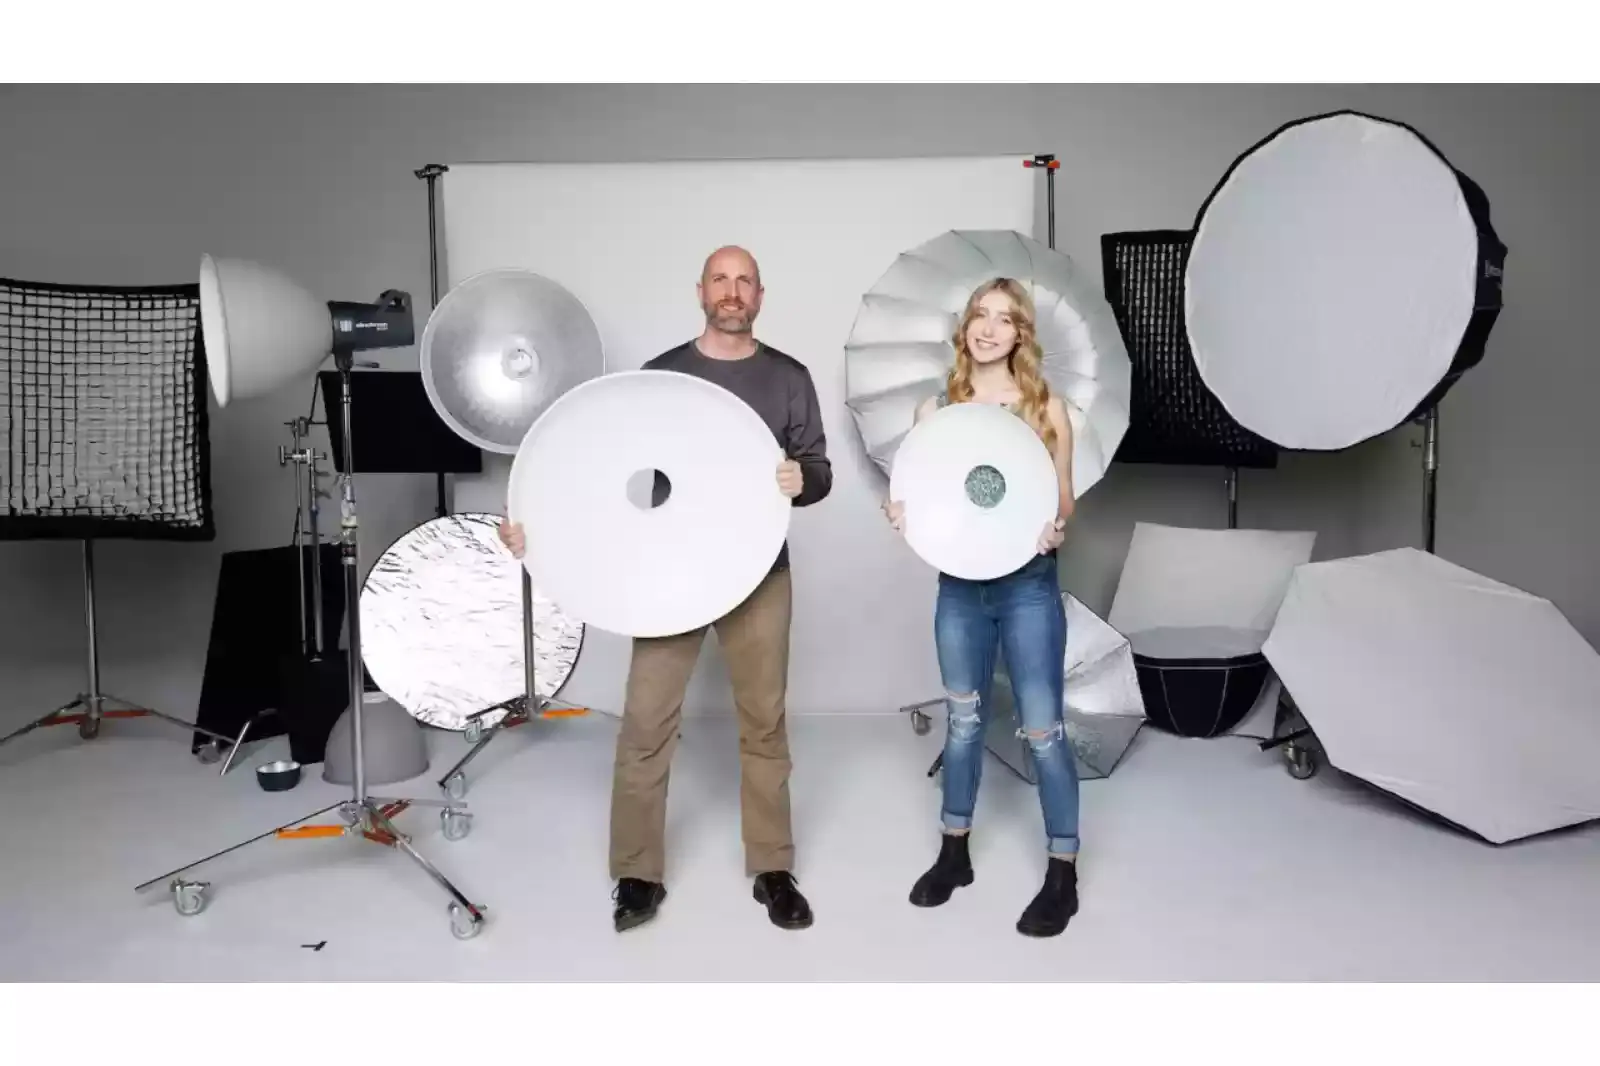
They are handy photography equipment that offers bright lighting in the photographs. It enables you to draw the attention of the viewers to your product. Modifiers are very helpful in lessening product shadow and creating soft lights. Modifiers enable you to get soft and natural light on the product.
Modifiers are of two categories, one is an umbrella, and the other one is boxes. There are two types of umbrellas for lighting. They are white umbrellas, and the other one is a grey umbrella. In lighting for product photography, Umbrella modifiers are mainly used as a primary modifier.
Umbrella spreads the light with very little power and accuracy. Boxes are of three types one is softbox, second is strip boxes, and the last one is octal boxes. Boxes are preferred mainly by photographers for product photography. One can easily control the direction it lands and the intensity.
Reflectors:
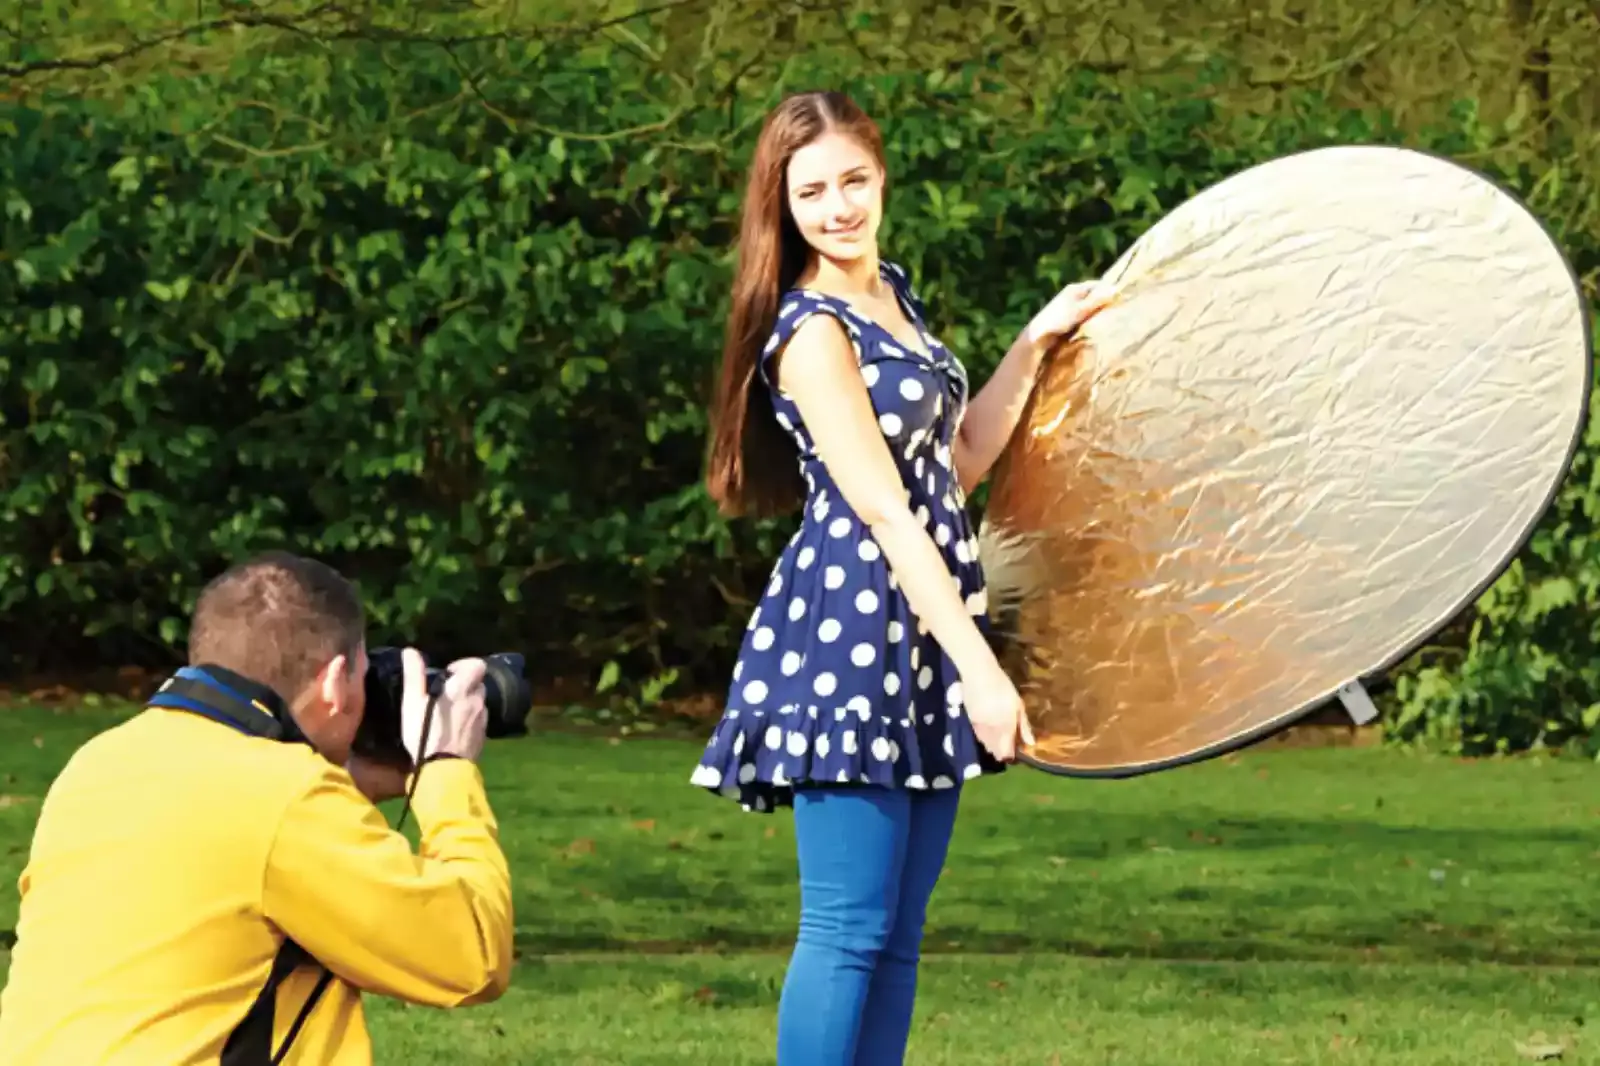
This equipment plays a vital role and is used in product photography lighting. Reflectors are mainly used to bounce the light back toward the product. They are usually placed opposite the light on the other side of the product.
Tripods:
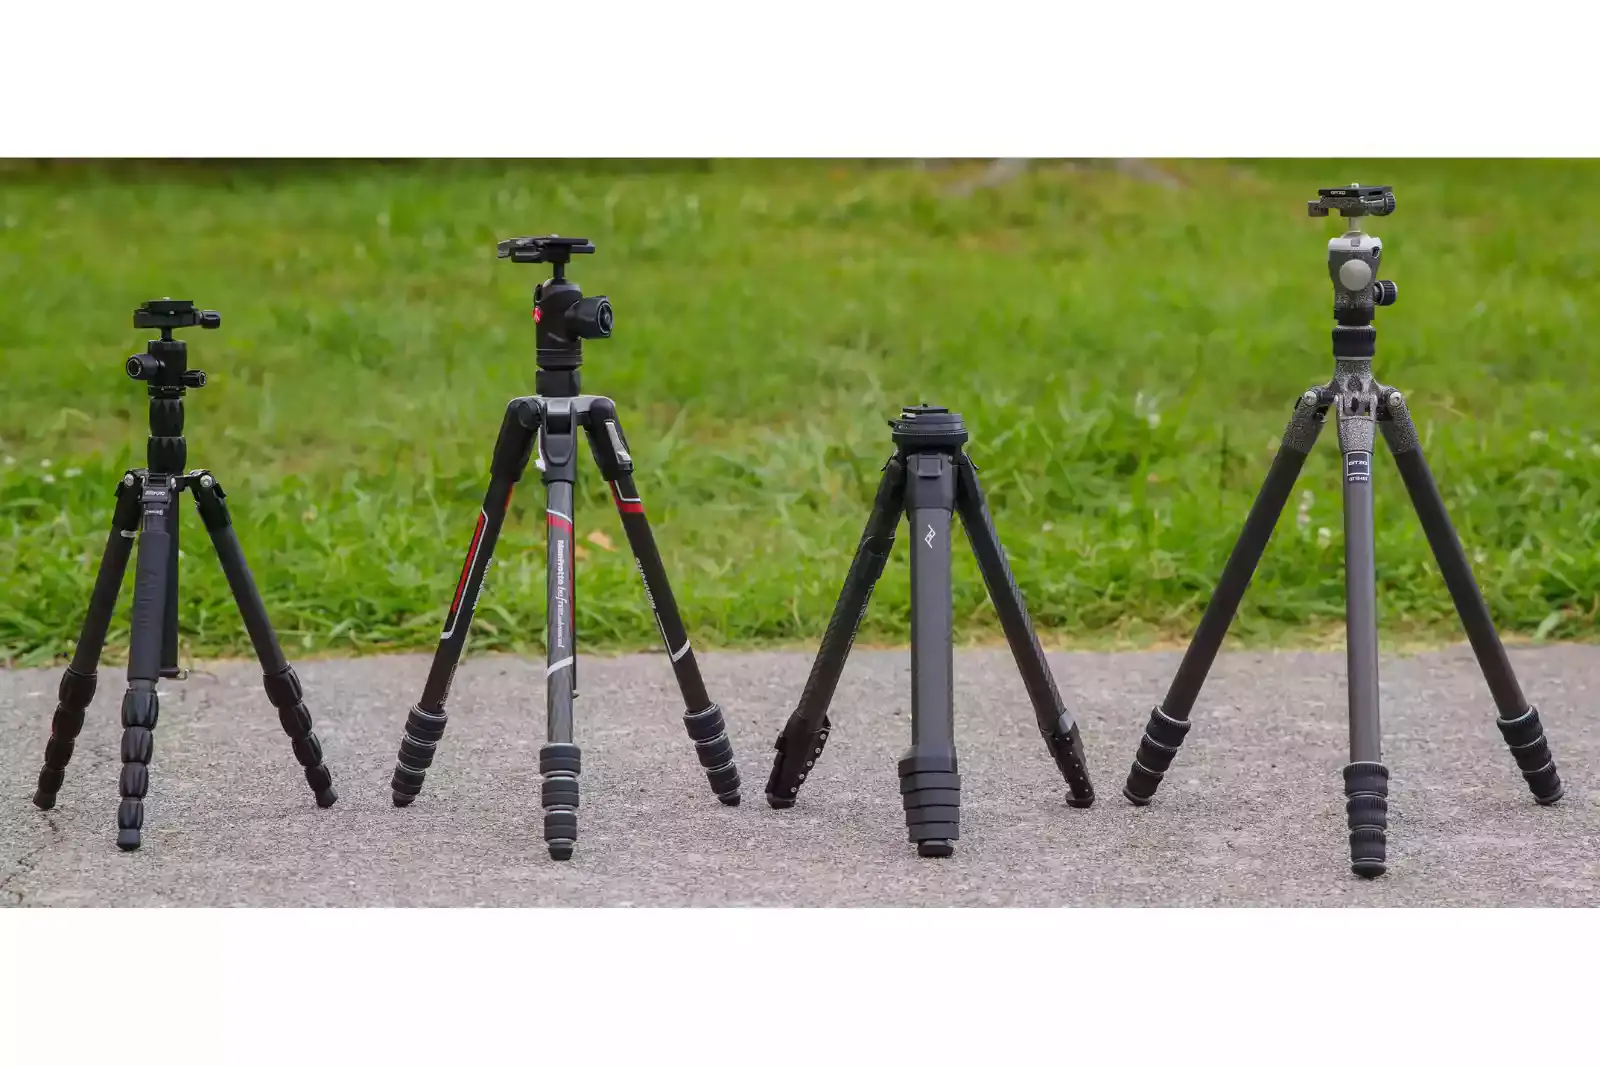
It would be best if you went on with the tripod to create a great product photograph. Tripods are the crucial element that creates a great product photography set-up in your studio. Tripods have a three or four-legged structure. It has adjustable legs and a base. You can choose the light placements as per your requirements. For example:
You can go for the front light using the Ring light:
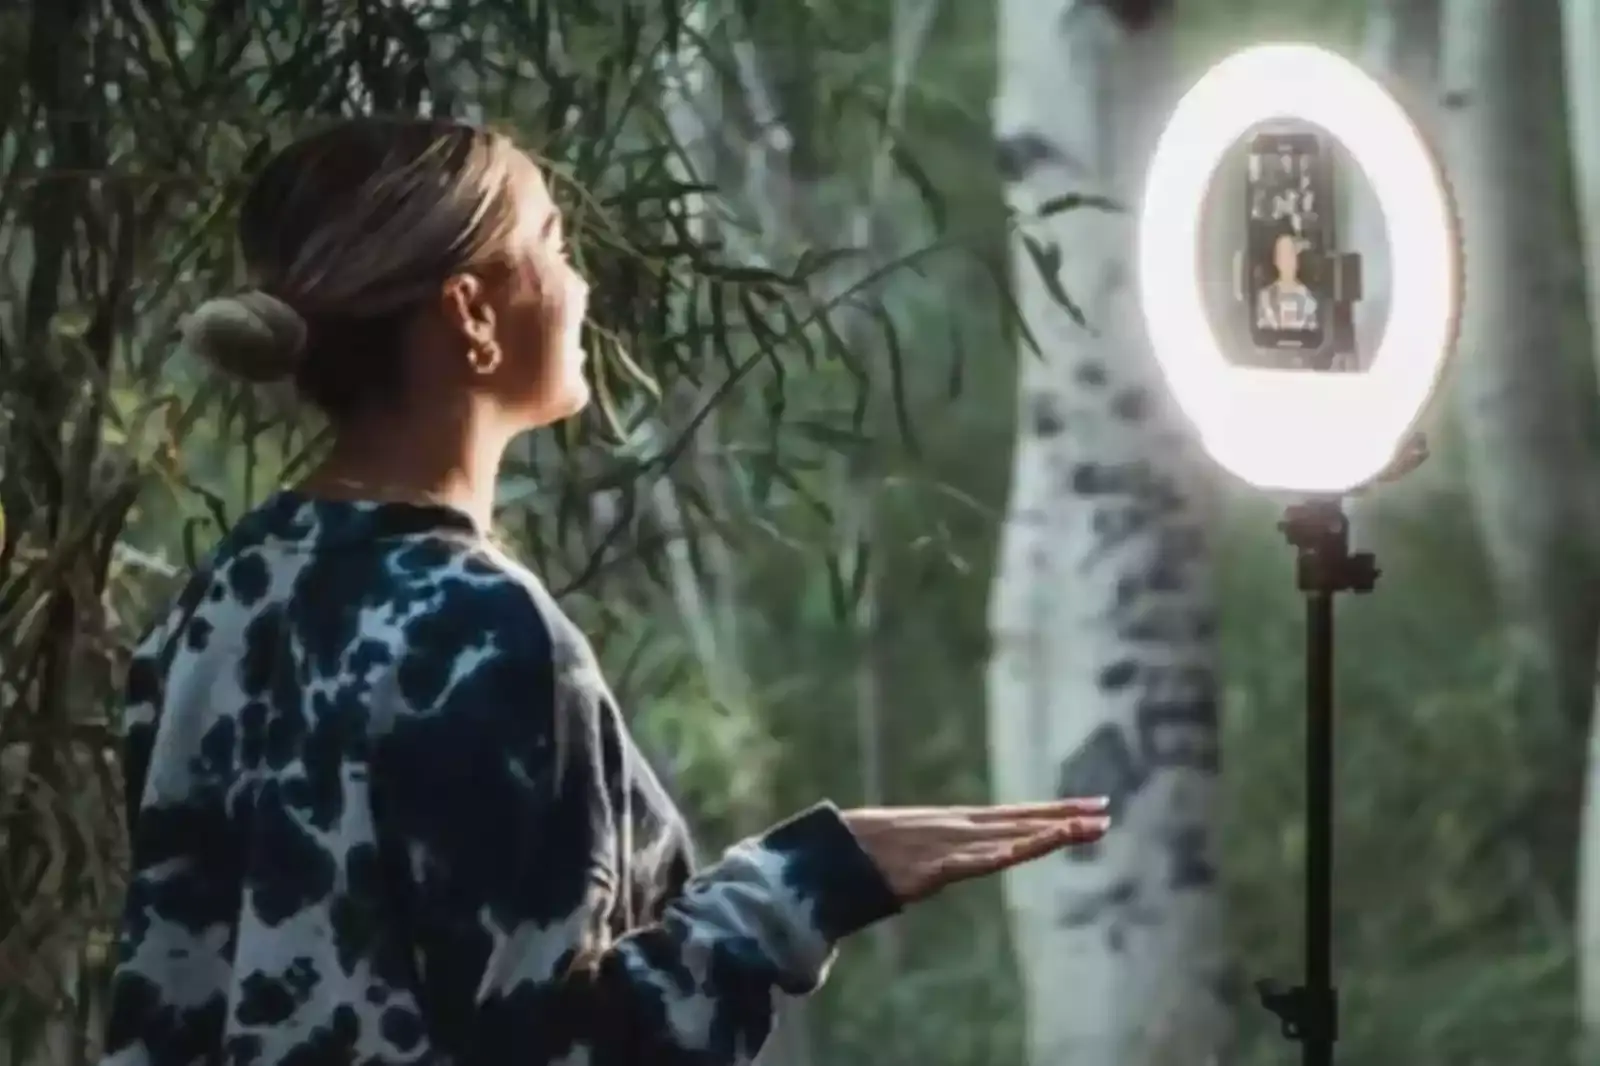
Ring lights are bright and come in three sizes, 12 inches, 14 inches and 18 inches. Ring lights can be used for many reasons, such as to enhance the product, produce soft light, make the product's color stand out, snuff out harsh shadows and offer excellent closeup lighting.
Ring light helps to expose the product precisely. It gives solid and bright images that make the product stand out. Ring lights are an excellent opportunity to get the perfect glimmer for any product you photograph. Ring lights are the favourite option for photographers.
Ring lights are straightforward to use, and the setup of ring lights is relatively simple. The first step is to attach the ring light to the stand. The stand has a ring light, so you don't have to purchase the stand separately. You will also receive manual instructions along with the ring light, explaining how to set up that ring light.
The next step is to screw the light onto the stand, plug it in and switch it on. Make sure you check the bulb lights are bright before using the ring light. Now you can put the camera or your mobile phone in the middle of the ring light stand. This way, you can take hands-free pictures and videos.
Side light for the beginners to create shadows:
If you are a beginner in this photography field, this is the best way to start. The side light arrangement is an excellent way for beginners because it requires only one light and a simple set-up, which enables you to create natural-looking shadows.
To start with, depending on whether you want the shadow to the left or right, you need to place the light to the left or right accordingly and to create the shadow, add a white reflector opposite the light. And there you go to take a shot.
Two light setups for reflective products:

You can opt for two light setups to avoid the reflection in the centre of your subject. You need to place the light on the angle on either side or the front of your product. This way, you can eliminate the problematic reflections.
Three light setups or Triangle setup:
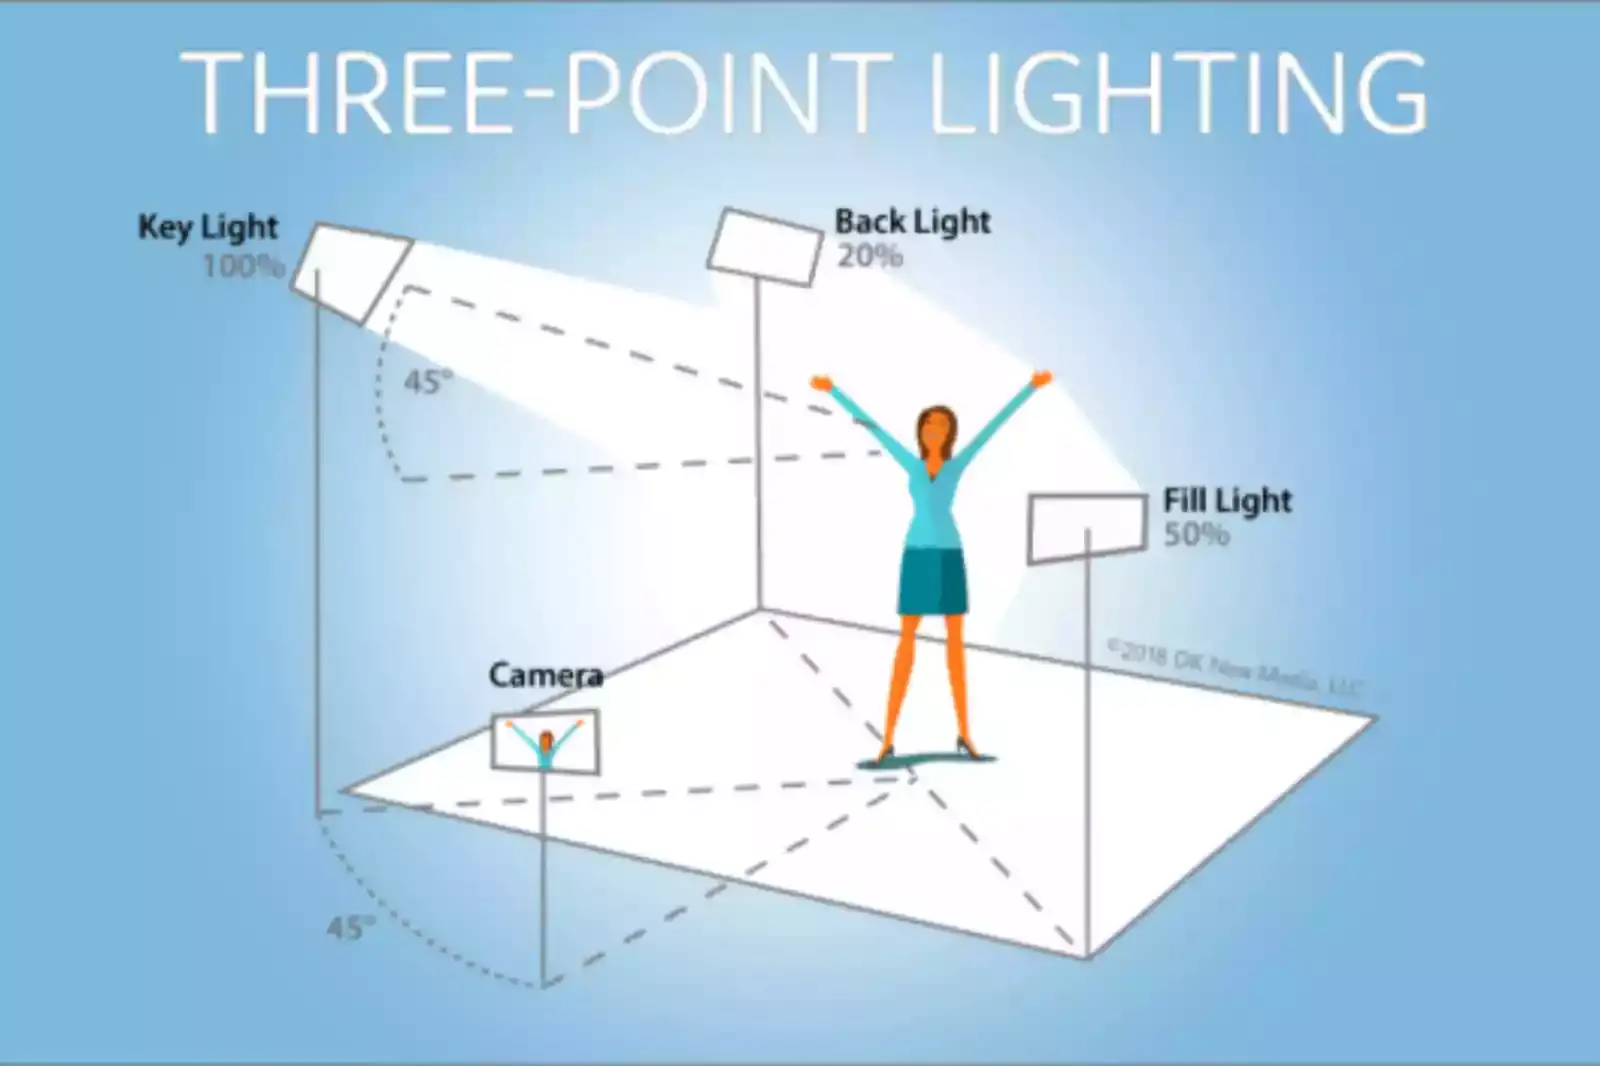
This method is used for creating 3-D effects. Here you're pretty three individual lights, using a triangle setup. You need to place one light in front of the product and the rest two lights on either side of the back of your product.
This will make your product shots look more professional. You are developing a clear division between the image's subject and the background using the backlight. This way, you can eliminate distractions and pull attention towards the product.
How Important is it to Remove the Background From the Image?
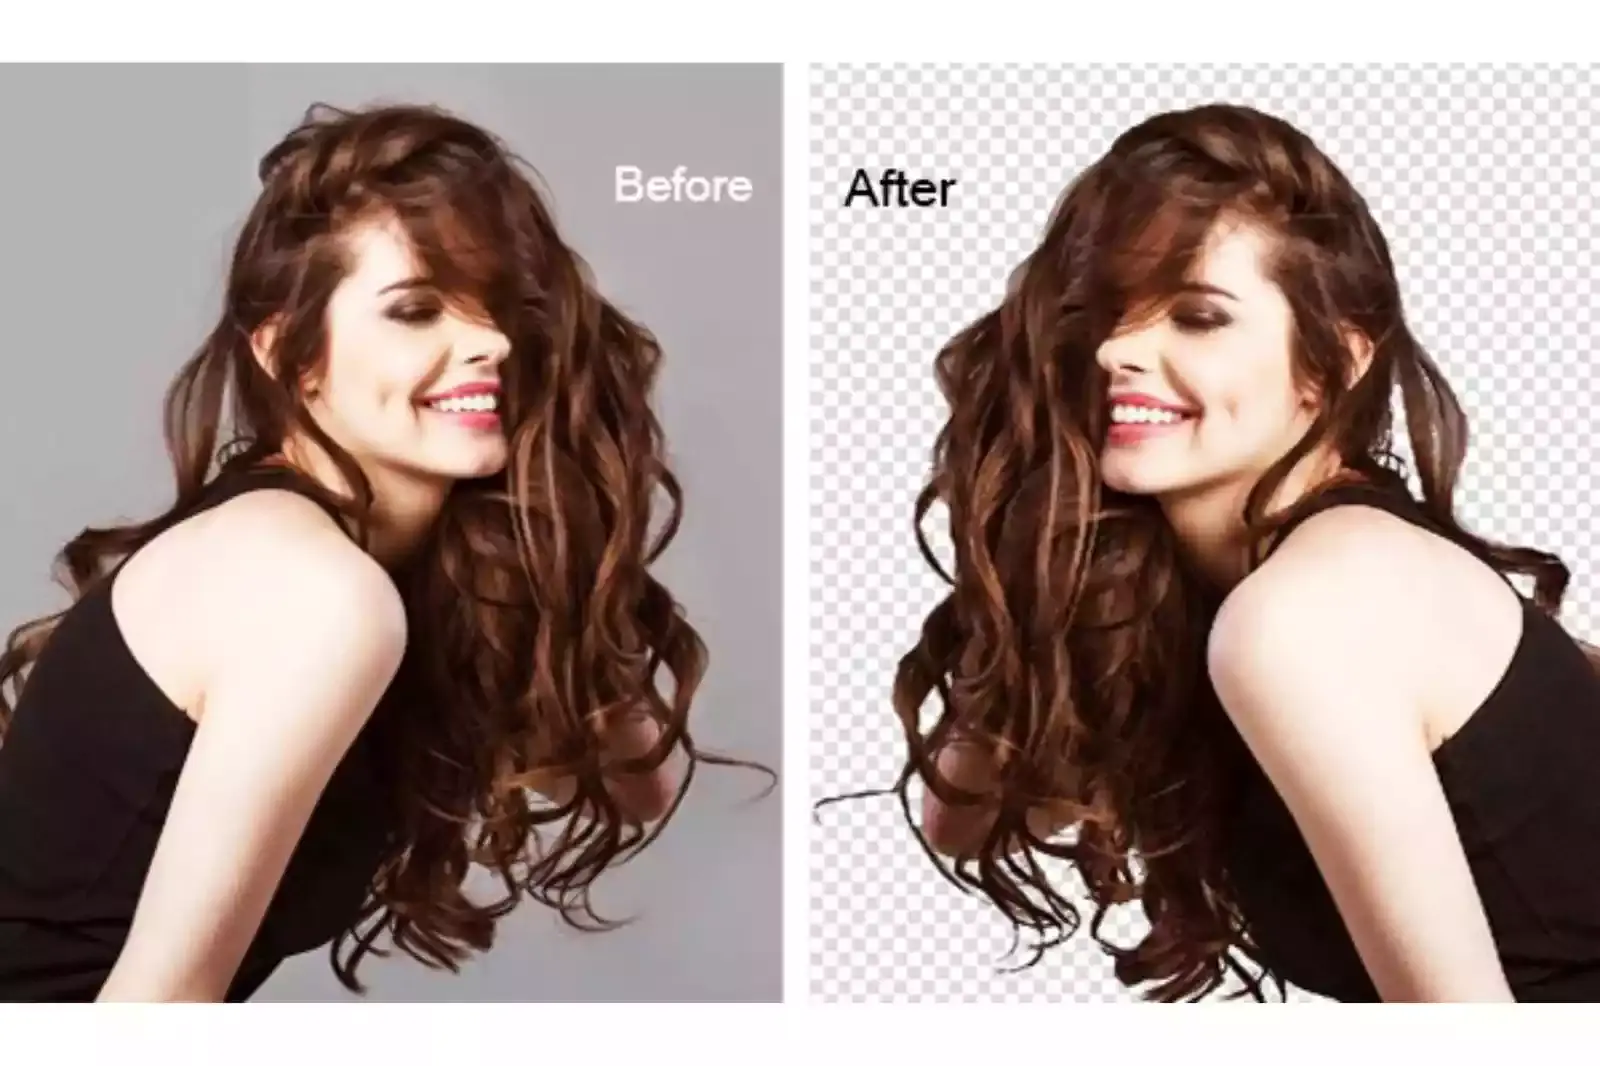
A white product image background always gives a professional look and helps to focus on the item. A white background image is an attractive choice among e-commerce sellers. Regarding product photography, it means the high reason is to capture the attention of online customers.
A product image with white background makes your marketing efforts more versatile and makes your product stand out from the crowd. You can now simplify the process of white background photography using erase.bg tool. You don't need any photo editing skills to remove the background when you have erase.bg tool.
Erase.bg is an AI-powered technology which enables the user to eliminate the undesirable background from the image without putting zero effort. If you have a bulk of images to be used for your online store listing, then you don't need to stress out. Erase.bg is here with a solution, the access for erase.bg is entirely free.
You can also download the application onto your mobile phone and browse it on your desktop. Let's dive deeper to learn about the Erase.bg tool: The first impression is indeed the last. The photographer can edit the photo in a shorter procedure. They do not need to cut the object and later place it on a white background.
Now they can shortly edit the image. With the erase.bg tool, you can remove the background with a few clicks without any hassle. Some product images may need a background with creative backdrops to make the image look good. With its AI technology, you can remove the background from any image and change it into solid colours and textures to make the product image attractive.
How to Remove the Background from the Image? (Step by Step Simple Guide)
Browse the erase.bg and pursue the steps to take off the background from the image:
Step 1 - Go to the Erase.bg website. You may also download the application onto your devices. To download the application, click on Android and iOS to download.

Step 2 - Proceed to the ‘Upload Image’ option and click on it. Choose the image that you want to wipe out the background. Select the ‘Upload’ button. Hold up to this for seconds, and the background will turn white.
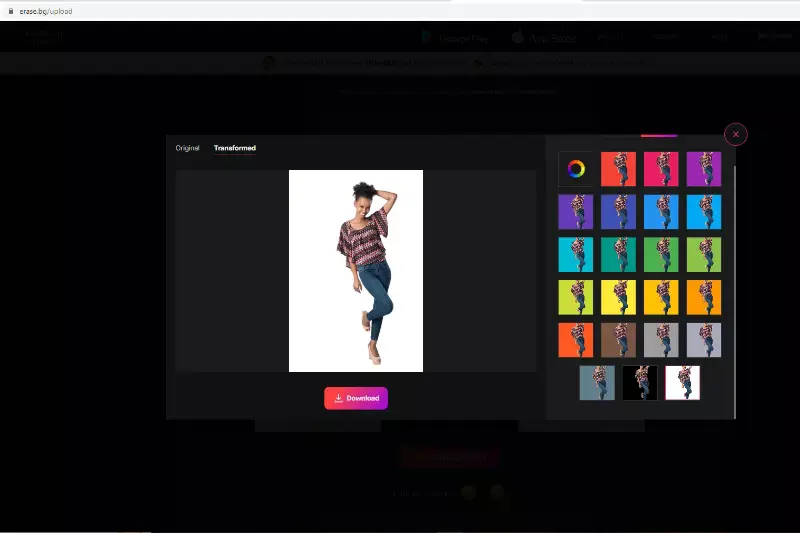
Step 3 - Go to the ‘download original size’ button to download the image.
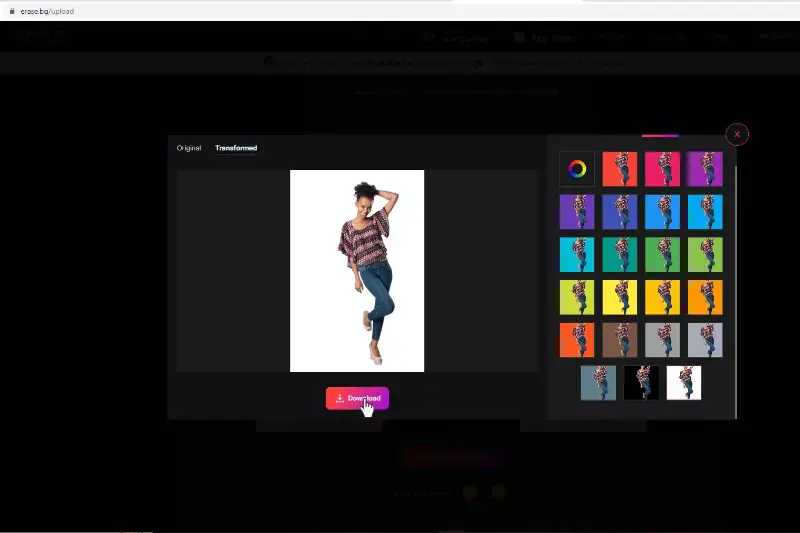
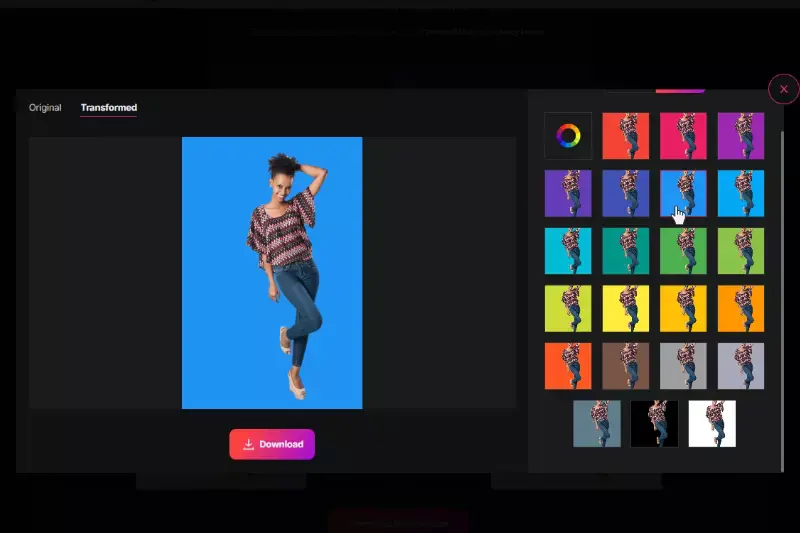
Step 4 - If you hope to change the background from white to another colour, proceed to the ‘Edit’ button from the top right of the image and prefer the colour of your choice.
FAQ's
How do I get white background on erase.bg?
To switch the image background in white colour, you need to follow the steps mentioned below: Step 1 - Get on to the Erase.bg website and click on the ‘Upload Image’ button. You can also download the application. Step2 - Click on the ‘Upload’ button after you are done appointing the image file. Step3 - To edit the image's background colour or pattern, click on the ‘Edit’ button which you will get at the right corner of an image.
How do you change the background on erase.bg?
Stages to alter the background of the image is straightforward with erase.bg: Step 1 - Proceed to the erase.bg website from your desktop, and choose the ‘Upload Image’ button. Step 2 - Specify the image for removing the background colour. Instantly click on the ‘Upload’ button. Step 3 - To pour the colour into the background, you need to move to the ‘Edit’ option from the right top of the image.
Can LED lights be used for product photography?
Yes, LED lights can be used for product photography. They are becoming increasingly popular due to their low energy consumption, long lifespan, and ability to provide consistent lighting. LED lights come in various color temperatures, allowing photographers to adjust the color balance of their photos to match their needs. Additionally, LED lights do not emit heat, making them safer and more comfortable to work with.
Is flash better than LED for product photography?
LED lights are generally considered better than flash for product photography due to their consistent and continuous light source, ability to control shadows and highlights, and range of color temperatures. Flash can produce harsh shadows and highlights, and requires additional equipment to control.
Is a ring light better than a softbox for product photography?
The choice between a ring light and a softbox for product photography ultimately depends on the desired effect. A ring light produces a circular, even light with minimal shadows and can provide a "halo" effect around the subject, while a softbox produces a more diffused, directional light with softer shadows. Therefore, it is up to the photographer's preference and the desired look for the product.
Is natural light best for product photography? answer in 2-3 sentence
Natural light can be a great option for product photography, particularly if the product is small or medium-sized and can be easily moved to a location with good natural light. However, natural light can be inconsistent and difficult to control, particularly if shooting indoors or on an overcast day. Therefore, it is important for the photographer to be able to supplement or adjust the natural light as needed with additional lighting equipment or modifiers.