Best Easy Ways to Remove Image Background
When it comes to images, the background can often be just as important as the foreground. The right background can add context, provide visual interest, and even help to set the mood or tone of an image. On the other hand, an inappropriate or busy background can distract from the main subject, making it difficult to focus on what’s important.
In some cases, such as product photos or headshots, clean white background is desired to make the subject stand out. In others, removing the background altogether can create a more powerful effect. This is often done with portrait or lifestyle shots, where isolating the subject against a blank canvas makes them appear more striking and dramatic.
No matter what your goal is, removing the background from an image can be a helpful way to improve the overall composition. It’s also reasonably easy to do with the right tools. In this article, you will learn many ways to remove background. Keep reading to choose your favourite.
How do you Remove the Background from the Image?

Removing the background from an image can be challenging, especially if you must familiarize yourself with the various tools and techniques available. However, with a bit of patience and practice, it's possible to produce great results. Here are some simple steps to help you get started:
1. Choose the right image. Background removal works best on high-contrast images, so select an image where the subject is visible against the background.
2. Adjust the brightness and contrast. This will help to make the edges of your subject more defined and easier to select.
3. Use the wand tool to select the background. Start by making a rough selection around the outside of your subject, then use the wand tool to click on any areas of the background that you want to remove.
4. Invert your selection. This will ensure that only the background is selected, making removing it more accessible.
5. Erase the background. Use the eraser tool to remove the background slowly; be careful not to erase any part of your subject.
6. Save your image. When happy with the result, save your image in a format that supports transparency (such as PNG). This will allow you to use your newly edited image in any way you like.
Other Ways to Remove Image Background
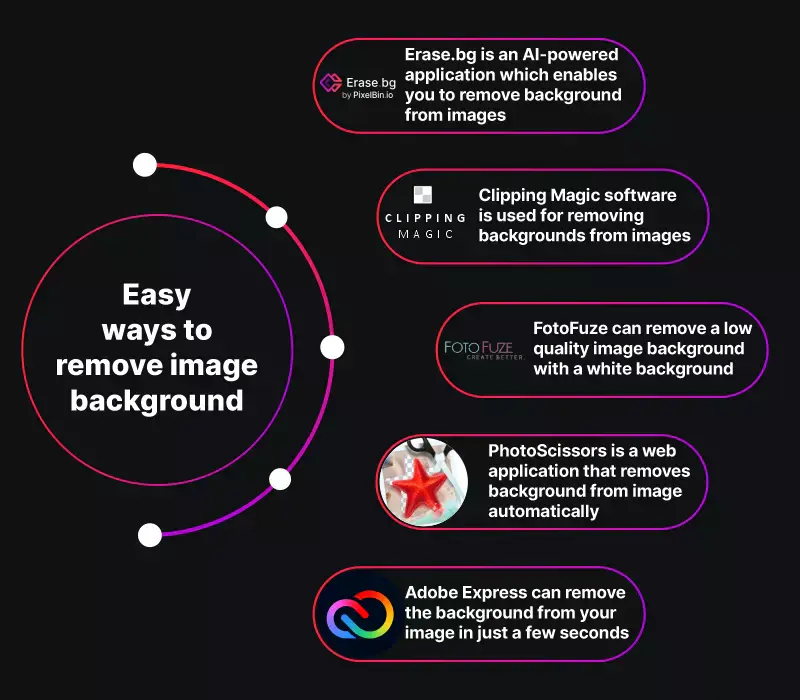
There are a few easy ways to remove the background from an image. One way is to use an image editing program like Adobe Photoshop or GIMP. Another way is to use a web-based tool like Clipping Magic. If you have access to an image editing program, you can use the "Background Eraser" tool to remove the background from an image. Open the image in the editor, select the "Background Eraser" tool, and click and drag over the background to remove it.
If you don't have access to an image editor, you can use a web-based tool like Clipping Magic. Just upload your image and then click and drag to select the area you want to keep. The background will automatically be removed. Both methods give you a clean, transparent background that you can use for whatever purpose. Give them a try and see which one works best for you!
Which applications are reliable to use for removing image backgrounds?
Removing the background is tricky. But with these sites, your work will be done within seconds. To know reliable sites, keep reading.
Erase.bg

You don't have to learn Photoshop skills to remove the background from your images. With Erase bg, the image background can be removed within seconds. All you have to do is do one click, and all your work is done. Removing the background doesn't make the image boring.
Erase bg comes up with amazing effects and backgrounds too. Adding the effects or new background will give you a new touch to the photos. Moreover, nowadays, everyone is mad about getting a good profile picture on their social media.
Erase bg is the perfect tool for editing and changing your background. You can edit the pictures as you want. Erase bg offers you a free trial with some limited features. However, the most basic package starts at $29, while the premium version ends at 300$. The better the package, the more features it will have.
Clipping Magic

Clipping Magic is an easy-to-use app to remove the image background. The process starts by clicking on the Upload Image button to upload your photo. Once your photo is successfully uploaded, you will notice adjacent panels on the left side of your picture, while on the right-hand side, there is a preview option, and till this time, the background is removed too. For marking the object, use the Keep tool and the removal tool to highlight the image's background.
It's optional to mark the edge of the image properly. Make sure to display to the app about your keepings while leaving everything to the tool. If you want to make the image mode work smoothly, click on the Edges menu. To get a reasonable foreground boundary, do setting 1, which will be ideal. During editing, click the More then Undo, or you can Clear Marks to begin from basic. Clipping Magic uses different tools to change the colour, colour cast, background colour, and adjust contrast.
Suppose you are in a hurry and want all pictures done together, so Clipping Magic allows you to upload all images together. Before starting the work, check that you have made settings already. You can undoubtedly upload as many pictures as you want for editing, but for downloading, it's essential to have a subscription. The only bad thing is that the process takes a bit longer; you only need stable internet.
Microsoft Office
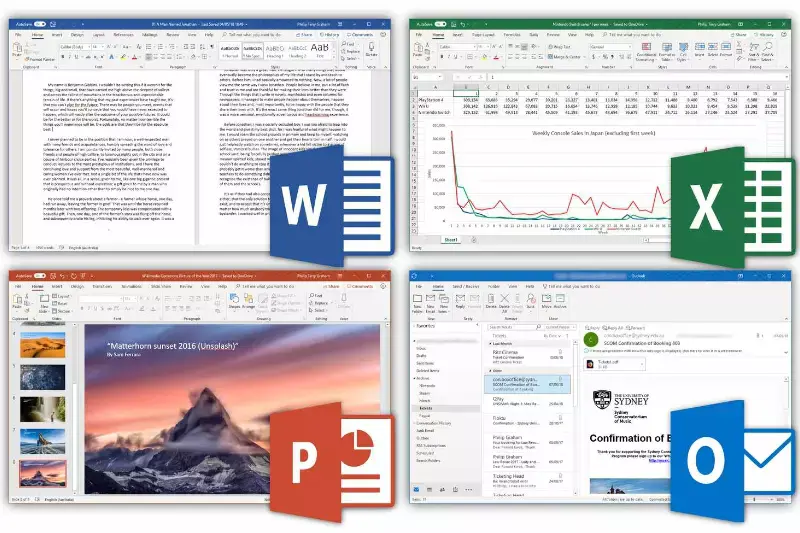
Microsoft has developed a feature for removing the Background from the image. Removing Background from a picture differs in every version of Microsoft. All you have to do is choose the picture from which you want to remove the image background.
Then select Picture Format; after that, click on Remove Background. This app will detect the Background and identify it by marking it with purple. To improve the selection, use the drawing pencil to mark the areas.
When your work is done, select keep changes to save your progress. Choose and select the picture, then go to the Format tab. Choose Picture Tools > Adjust > Remove Background. Drag the handles on the marquee line to contain the portion of the picture you want to keep and proceed.
Microsoft Office is an excellent app for removing Background from the image efficiently. We will recommend you buy something other than Microsoft office for this purpose. On the other hand, marking tools will be tricky to use. The picture with low contrast and dark colours will give you a hard time as the tools will need to be fixed.
Fotofuze

The background in any picture may be easily removed with the help of FotoFuze, a specialist photographic tool. Choose the corresponding button to create a new album, provide a suitable name, and add photos. After uploading the picture, use the "magic highlighter" function to highlight the relevant details. Once you're done highlighting, FotoFuze will preview the final product in real-time.
Use the brightness, background clarity, and sensitivity sliders to fine-tune the image. To obfuscate the image, press the Finish button. The Pro version's perks include the following:
- A bigger preview.
- The ability to resize images to a maximum of 4500x4500 pixels.
- A reduction in picture noise.
- The capacity to apply watermarks.
With an inexpensive FotoFuze membership, you may fuse many photographs (4500*4500), download high-resolution photos, edit images to remove noise, add watermarks, and more. However, if your backdrop is uneven or has texture, FotoFuze will only operate well for you. A smooth, dark, or neutral-coloured backdrop is required.
How To Remove Backgrounds In Adobe Illustrator
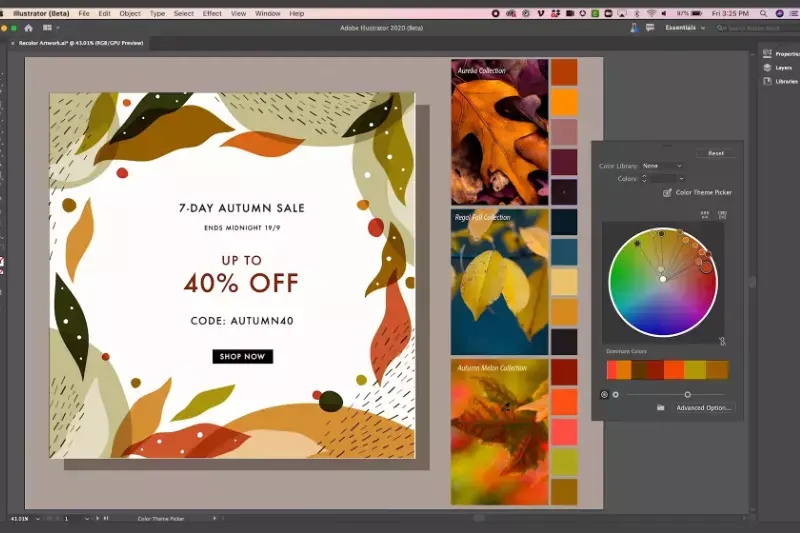
Remove the image's background with the help of Adobe Illustrator, so keep in mind that you will have to work with your vectors. However, vectorized images are sharper as compared to rasterized images. Image backgrounds in the pictures are not white/transparent, and it doesn't matter if it's a PNG file.
Moreover, vectors are generated by a computer, so there are fewer chances that the illustrator will have an idea about the subject and how to get rid of the background from the image. Here are the step-by-step instructions; let's have a look.
Step 1 - First, open the File and place the image on the workspace.
Step 2 - Then convert the vector by clicking on Window, then choose image Trace.
Step 3 - Make sure to select the most high-fidelity photo.
Step 4 - Choose and make a selection of images with the direct selection tool.
Step 5 - For converting your vector into shape, click on the object, then expand.
Step 6 - First, click at a distance from the object, then click again on the background.
Step 7 - Some parts or complete backgrounds will be removed by pressing the delete key.
Step 8 - By chance, if your object moves to the corners of the background, click on the section first, then delete it.
Step 9 - Once you have deleted all the backgrounds, go to File and click on Export. Choose the background colour transparently.
Why is it Important to Remove the Background From the Image?
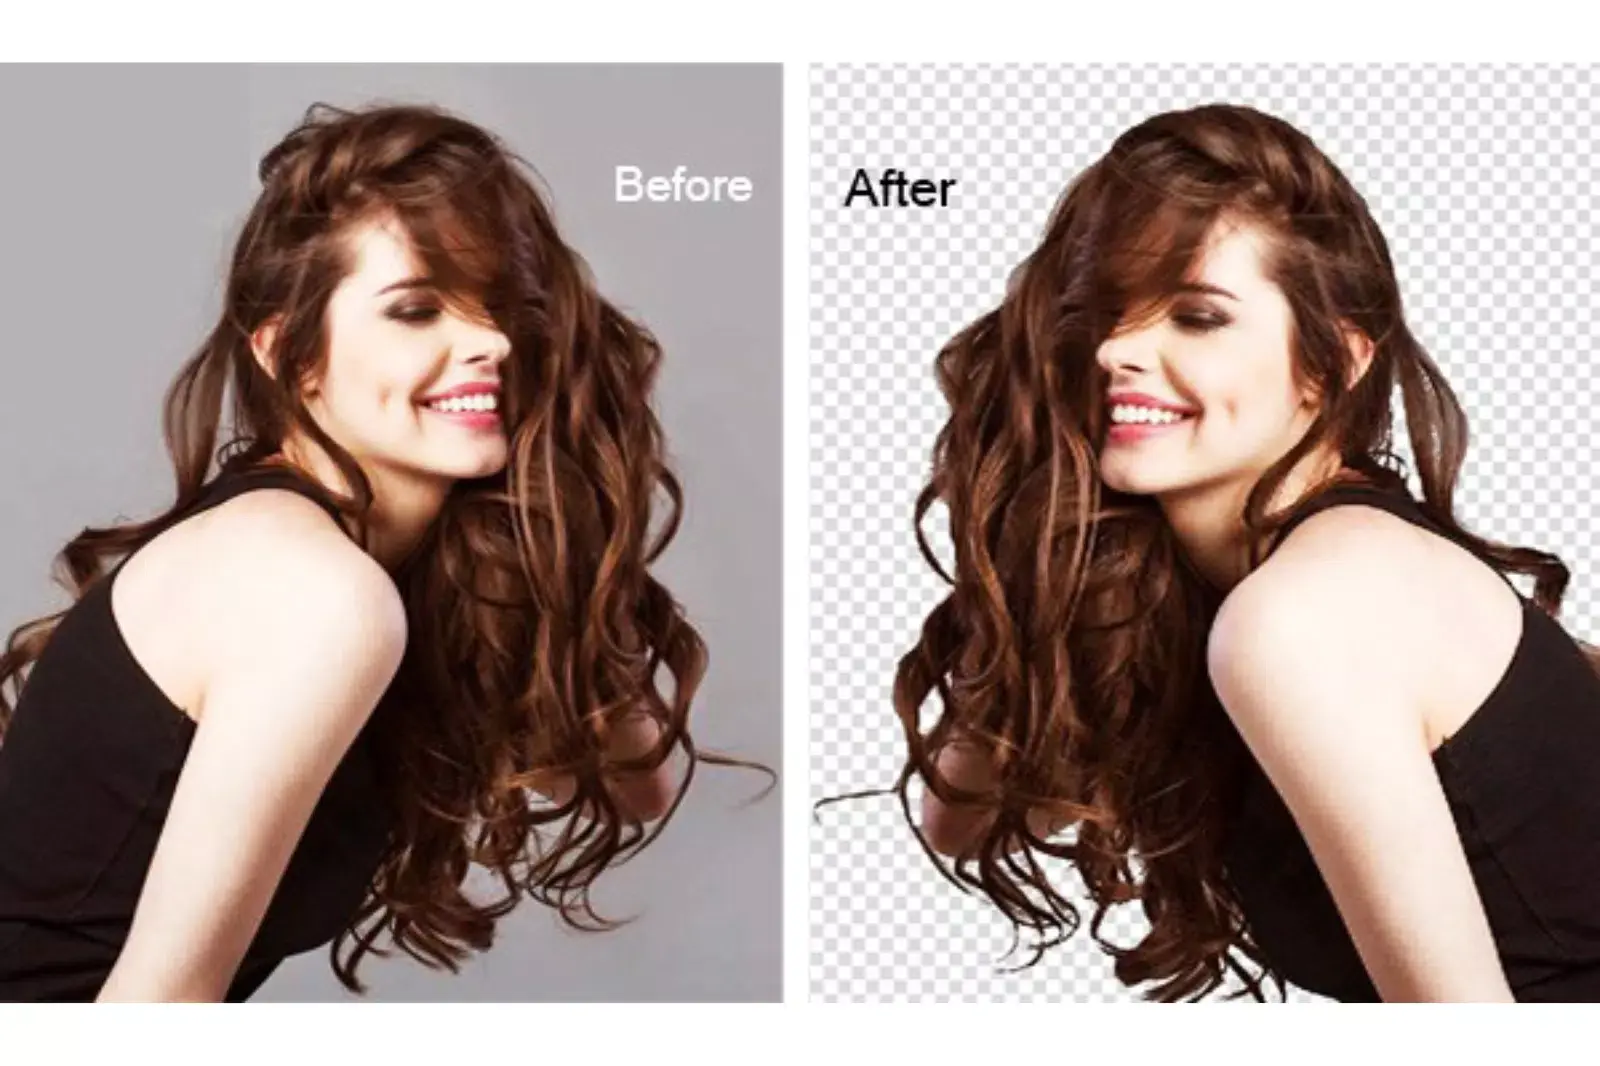
Every picture has its own story and memory. They can capture memories, tell stories, and convey emotions. But to truly capture an image's essence, removing the background is often necessary. Backgrounds can be distracting, and they can take away from the subject of the image. Removing the background allows you to focus on the image's main subject and create a more impactful composition.
In addition, removing the background can also help to emphasize specific details or colours that might otherwise be lost in the clutter. Whether you're trying to create a masterpiece or preserve a special memory, removing the background from an image can help you achieve your goal.
How to Remove the Background From the Image
When working with images, one of the first things you'll need to do is remove the background. This can be a simple task if the background is uniform and there's a clear separation between the subject and the background. However, it can be more complicated if the background is busy or there needs to be a clear boundary between the two. Here are a few things to keep in mind when removing backgrounds from images:
Step 1 - Use the magic wand tool to select areas of similar colour. This is especially effective for large areas of solid colour.
Step 2 - Use the lasso tool to make precise selections around the subject. This can be time-consuming, but it's worth it for complex shapes.
Step 3 - In some cases, you may need to use both tools for a clean selection.
Step 4 - Once you've selected, use the eraser tool to remove the background. Start with a giant eraser and switch to a smaller one for finer details.
With these tips in mind, you'll be able to remove backgrounds from images like a pro successfully!
Conclusion
Background removal can be a great way to improve the look of your pictures, whether you're looking to post them online or use them for marketing materials. Background removal is essential for online marketers, as it can help you create better visuals for your content. In this article, we'll walk you through three easy ways to remove the background from pictures using free online tools.
Each method has its strengths and weaknesses, so try them out to see which works best for your needs. Background removal can be tricky, but with the right tools and techniques, you can easily remove the background from any picture. Have you tried any of these methods? What was your experience? Share your thoughts in the comments below.
FAQ's
How do I remove the background from an image?
There are a few different ways to remove the background from an image. You can use an online tool like Background Burner, or you can make a simple selection with the eraser tool in an editing program like Photoshop.
Is it possible to remove the background from a JPEG image?
Yes, it is possible to remove the background from a JPEG image. You can make a simple selection with the eraser tool in an editing program like Photoshop.
How do I make a transparent background in Photoshop?
To make a transparent background in Photoshop, you need to use the eraser tool. First, open your image in Photoshop. Then, select the eraser tool from the toolbar. Next, click on the area of the image that you want to make transparent. Finally, save your image as a PNG file.
What image type removes background?
The image type that commonly removes background is a PNG (Portable Network Graphics) image, which supports transparency and allows for easy removal of the background while preserving the main subject.
What is the best tool to remove the background from images?
Erase.bg is considered as one of the best tools to remove the background from images due to its advanced AI technology and easy-to-use interface.
How can I remove background from a picture?
The easiest way to remove the background from a picture is by using an online tool like erase.bg. Simply upload your image, and erase.bg's AI-powered technology will automatically remove the background, providing you with a clean, transparent result.