Top Tips For Food Photography- Tips For Great Food Photos
Food photography is not everyone’s cup of tea as it is more complicated than it seems. Whether you are a professional food photographer or want to upload pictures on social media to grow your following, you have to pay attention and keep in mind some important things while taking perfect food photos.
Food Photography Tips for Beginners
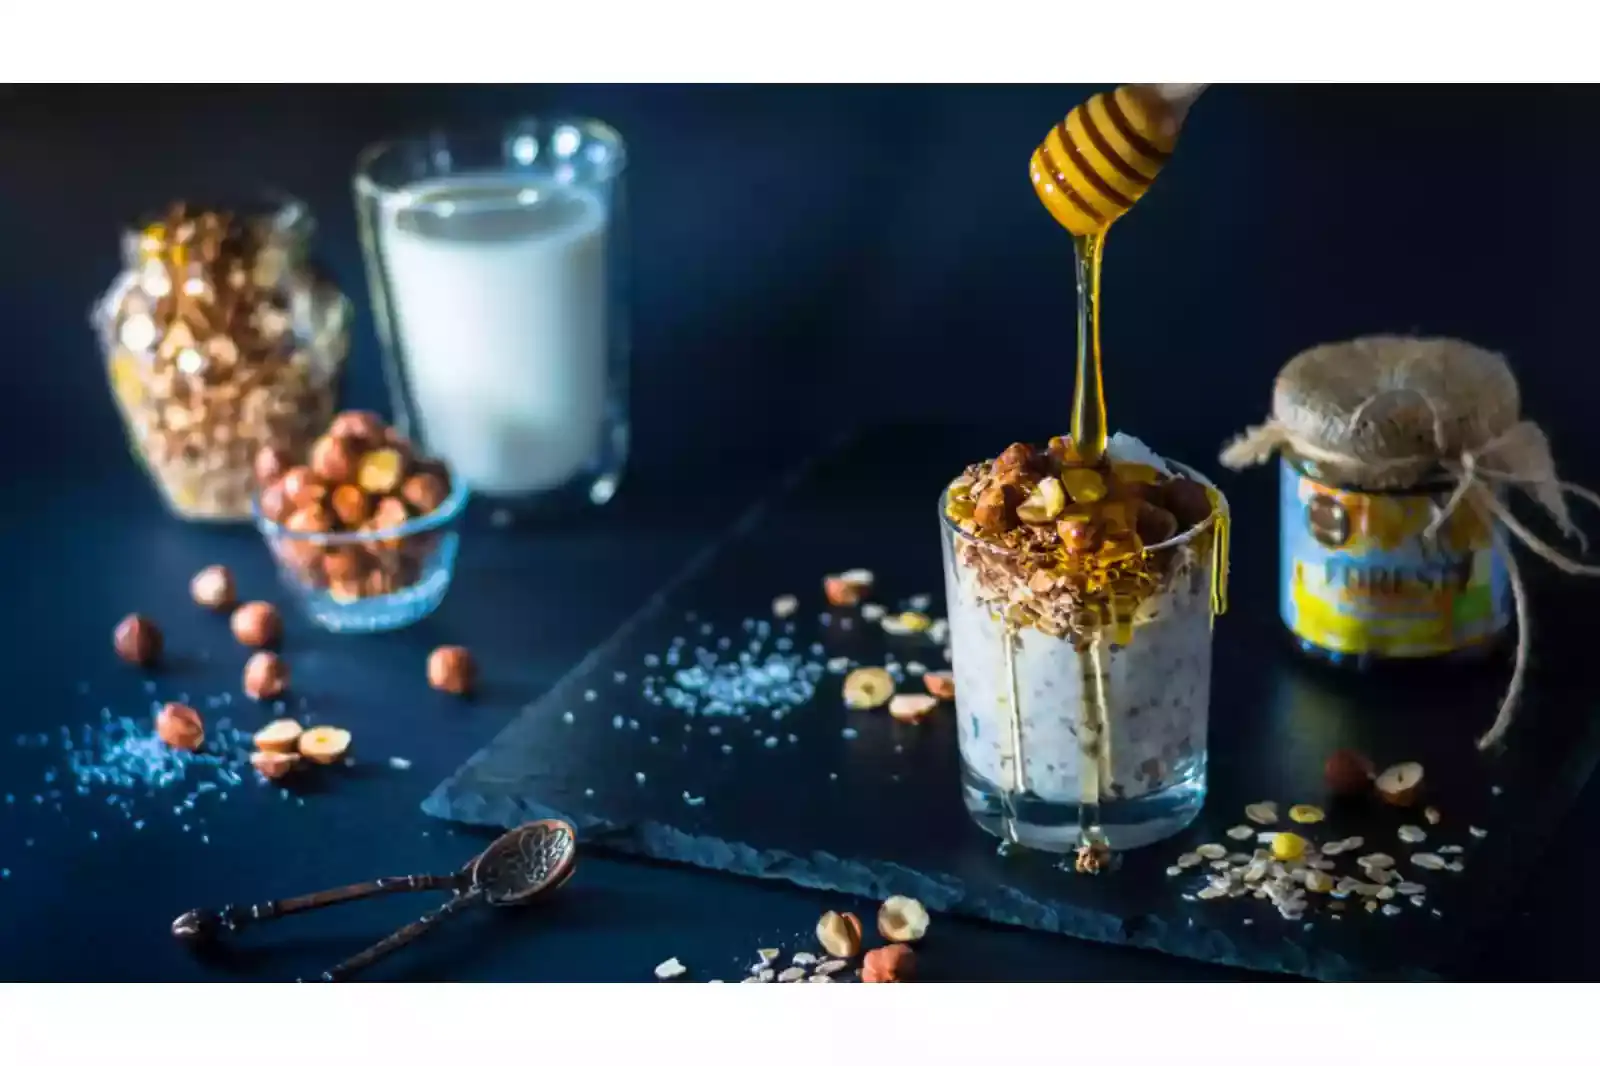
These simple strategies and suggestions for food photography will help you take better pictures. This article will help you achieve the outstanding results you seek, whether you're shooting for your blog, a cooking tutorial video, editorial work for a magazine, or just because you want to create your personalized cookbook.
Using Harsh Artificial Light
Artificial light has a great significance in food photography as it offers them flexibility in terms of time because they re not constrained by the times to take photos. In food photography, as in any other type of photography, lighting is the most crucial element to learn because it has the power to make or ruin your images.
Some photographers prefer natural light because it produces the most excellent results. Others use artificial lighting because it provides constant illumination and white balance throughout the photo shoot, saving them time and effort in post-processing. Avoid using a direct flash or, worse still, an overhead tungsten light if you decide to use artificial lighting.
Invest in a reflector or bounce card and a high-quality flash. Never point the flash at the background of food since it will cause the food to lose all its details and appear flat and unappealing. The ideal method is to bounce light onto the food using a reflector. To determine which works best for each food image, experiment with the angles, camera settings, and light intensity.
Not Using Fresh Ingredients
Food photography techniques are all about capturing the food's aesthetic. Therefore you must ensure that each item is in perfect shape. Don't try to work out an angle that could disguise the imperfections (they usually don't work very well). Dried lettuce in the salad or a smashed tomato can destroy the photo. To avoid unnecessary work, only utilize foods that are as fresh as possible.
Setting The Light On Different Sides
As long as you don't limit your lighting setup to one side, there are many things you may do while photographing food. Investigate the effects of front lighting, backlighting, and side lighting on the backdrops for food photography.
- The front lighting is the simplest and safest option because there won't be as much shadow on the food. The outcomes are adequate and lack any distinctive qualities.
- When you want to display the textures and contrast of the cuisine, making the details stand out, side lighting is typically used.
- Even though it can be challenging, backlighting is well worth the effort. It provides a transparent, light background that aids in shifting attention to the meal and shows its exquisite nuances. The art of backlighting requires a lot of experience (wrong exposure and automatic settings can cause dark shadows on your food, so always use manual settings).
You'll learn what works and what doesn't if you keep trying. Once you've mastered it, you'll be able to produce food images with a chic editorial feel.
Try to take Pictures from Multiple Angles
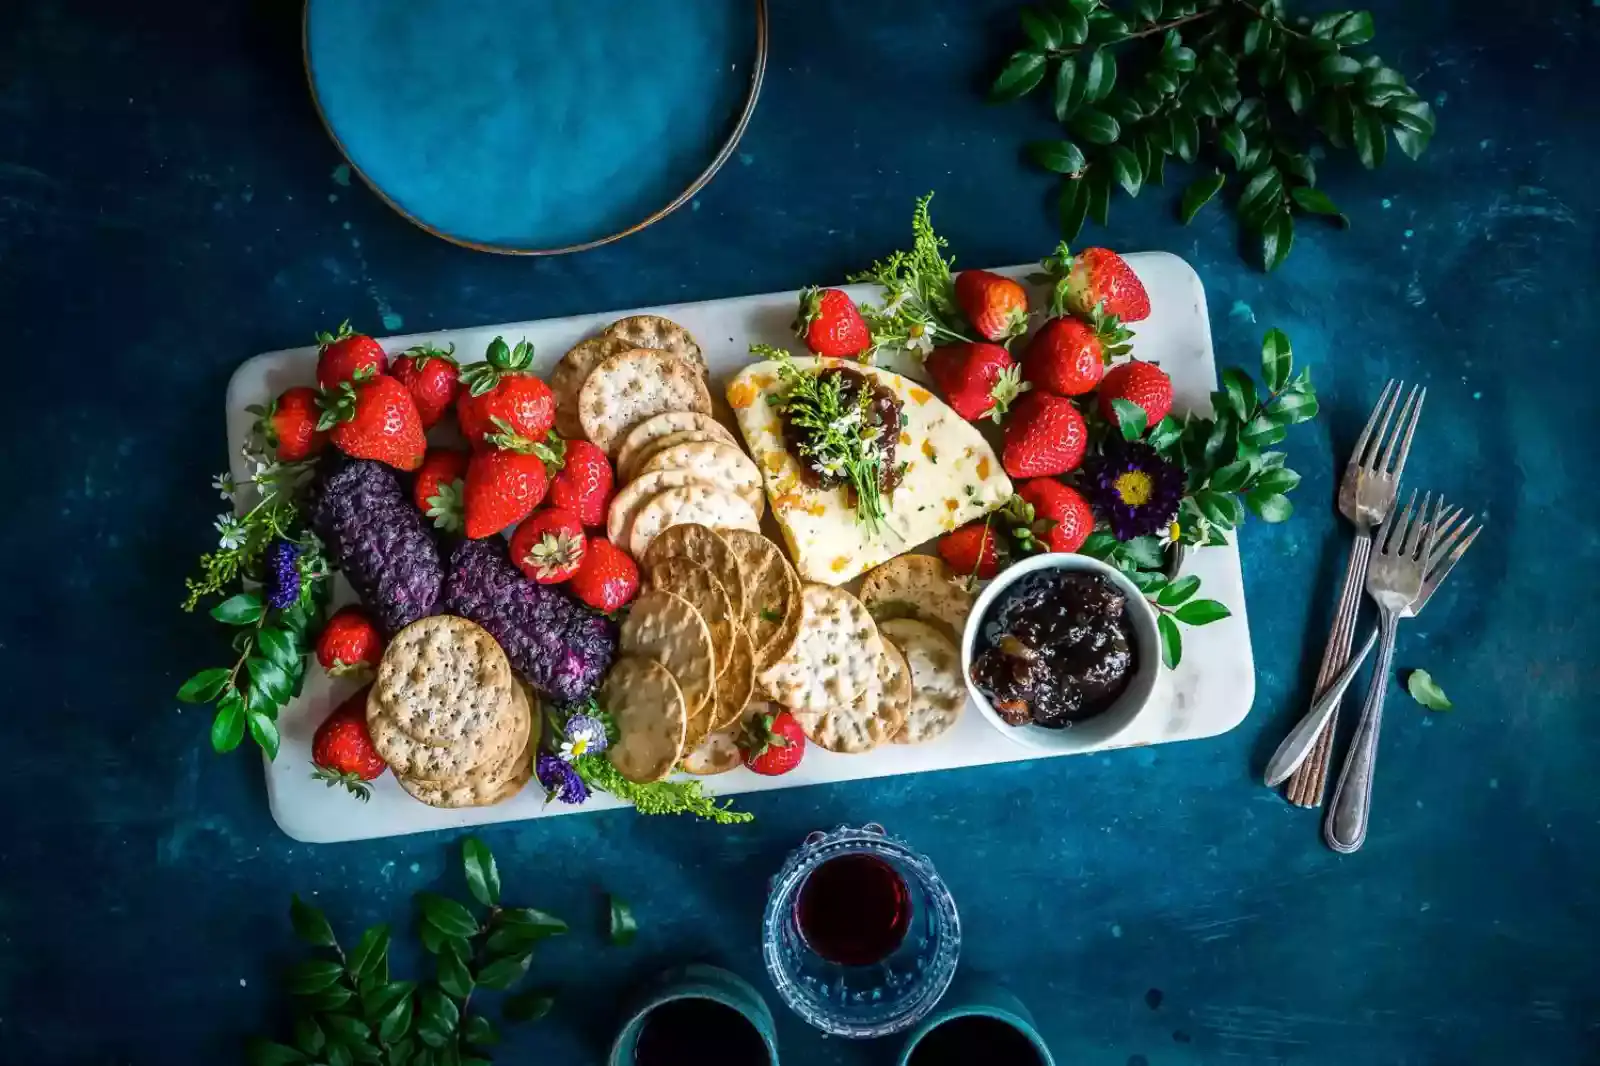
No one angle works for everyone. Different dishes are best viewed from different perspectives. A taco or burger, for instance, looks best when viewed from the side, while the cheese and fruit tray appears best from above.
However, this does not imply that only one angle is effective for each dish. Instead, to help people envision, you sometimes need to display the food needs from several angles. Consider all the possible angles for each dish, and don't be afraid to experiment and get creative!
Can Take Pictures While The Dish Is Being Cooked Too
Shooting after the food has been prepared is too late because you'll miss a lot of chances to get excellent cooking photography photos. Start far earlier, when the ingredients are being prepared, rather than after the food has been cooked! When something is cooked, it sometimes doesn't look delicious (think of bland soup, pasta with white sauce, or brown dishes like chilli, beans, or stuffing).
When it still appears flat and uninteresting after adding a little garnish, you may photograph the cooking process. Sometimes the cooked dish appears less attractive than the raw or partially cooked elements.
Bumping up the Saturation too much
Food photographers may fall into the trap of increasing the saturation too much in an attempt to make the food shot look more appetizing with all the colors. Editing can be hit or miss at times.
Yes, food generally appears more delicious when the colors stand out, but you should be careful not to oversaturate your images as this will simply make them appear odd and artificial. Try to mimic the colors as closely as you can.
Not Taking Photos with Negative Space
When photographing food, many photographers follow these two guidelines:
- Completing the frame to display the entire serving;
- Capturing the dish in close-ups to reveal all its delicious details;
They frequently need to pay more attention to the one additional technique they should employ: capturing pictures of empty spaces. Be ready to accommodate this; leaving a blank space in a photo will be helpful to your clients when they need to add a logo or wording.
Using Too Much Food For Plating
Although it may be tempting, overfilling the plate won't appear suitable on video. Too much food on the plate will make it more difficult for the audience to focus on the crucial details. Put enough space on the plate so the viewer can appreciate the dish because food photography is about simplicity. Less is more!
Pay Proper Attention To The Props And Styling
Props and styling work wonders for a photo shoot, just like a bit of makeup does. Although food photography may appear simple, styling is complex. The ideal approach is to make everything simple and orderly, especially the props. No matter how attractive the tableware or pottery may be, you should refrain from using them in photographs because the food should be the image's main subject.
Use muted hues for your backgrounds and props, and let the food take centre stage. Make sure the plate, bowl, and all silverware are spotless because there will be close-up pictures. Never allow crumbs or wet specks on your prop (unless you deliberately do that for style). Every flaw will be visible and distract from the dish as you zoom in to see the food specifics.
To make your props appear better in the picture, you may add photo printing items to your unique and spectacular prop ideas for food photography. Please do your homework in advance to learn how to style food, so it appears more delicious. For instance, add a little oil to make vegetables and meat look glossy and succulent. To make a salad look fresher, add a little water.
Keeping The Food As It Is
Take pictures once the meal has been placed on the table for you to capture. Dig in and dish out some bits. For example, the cake looks more attractive when cut into pieces because the audience can see the colours and texture of the cake's interior, which helps them better understand how it will taste.
To breathe some life into otherwise flat shots, you may also include human characteristics and movements in your images. More interesting than just a still image of the dessert and sauce is the one below, that depicts the motion of pouring the sauce into the dessert.
Letting The Food Sit Around For Too Long
When certain items are prepared, you must act quickly and complete your tasks. Salads with leafy greens, for instance, will start to seem wilted after a while, and meat may start to look a little dry.
Make careful to complete your setup before the meal arrives so you can act quickly when it arrives. When setting up, you can use empty plates or bowls; once the food is ready, replace them.
Add a Story or Depth to the Photo
If you want to go above and beyond, be imaginative and describe the background of the cuisine, such as how it came to be or the time of year when the ingredients are collected. For your Moroccan tagine, use the tagine pot; for nasi campur, a banana leaf; or for pad thai, chopsticks.
While serving pumpkin soup or apple pie in the fall, brown and dried leaves can be used as decorations. You can also use a few Christmas decorations when serving a dish in the winter. Whatever you do, keep it straightforward and avoid going crazy.
Minimize Clutter
If the spoon, napkin, or cluttered background doesn't improve the picture, they take away from it. Don't zoom in so closely that viewers can't determine what the dish is; instead, concentrate on what's most crucial.
How to Style Food for Photography?
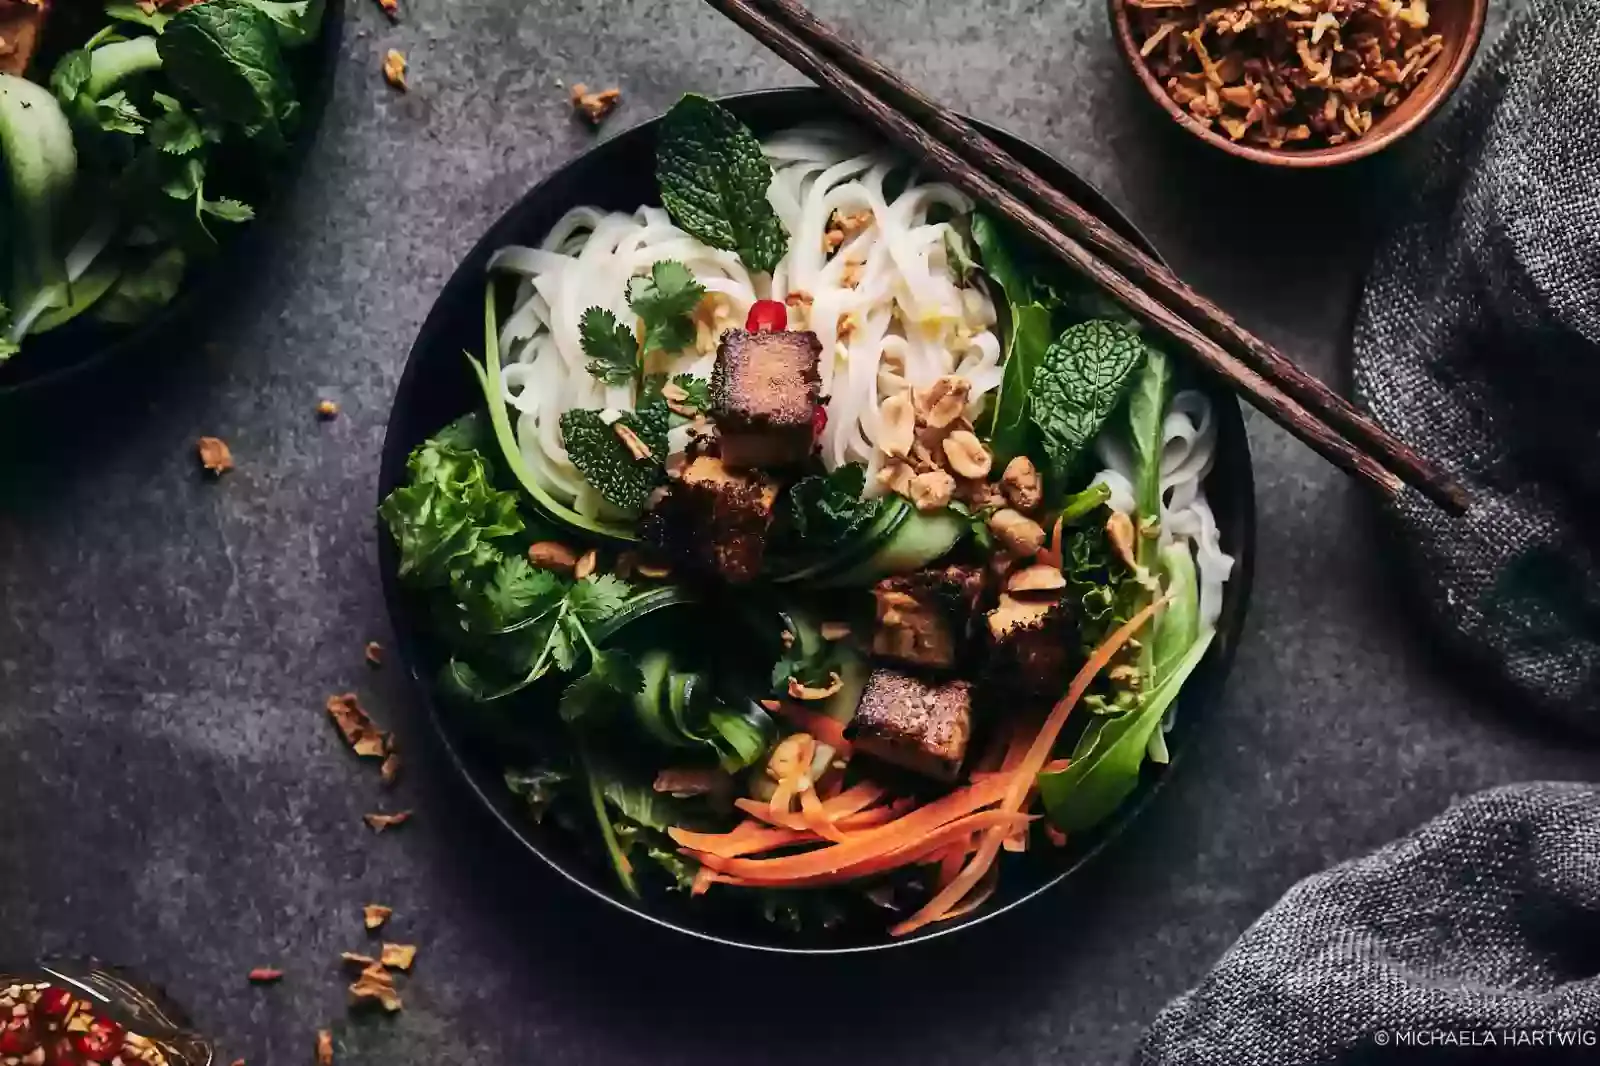
Some specialists devote their time just to food styling because it is complicated and intricate. The best food photographers collaborate with stylists to handle this task independently. But as you gain experience, you'll probably need to learn how to set up and style a solid shot.
This will immediately make your photos resemble professional food photography, increasing your likelihood of landing a job based solely on the strength of your resume. The ideal food to shoot has been sitting in a studio setup for hours, is edible even when it is cold and has a sauce or a crumbling texture that can be used to create an appealing note of imperfection.
However, finding this is not easy, and you might not always find the ideal thing to use. Since food might melt, wilt, crumble, or fall in on itself in a studio environment, you must learn to work swiftly. Plan the shot using a stand-in plate to ensure that you are prepared.
The tiny elements, like a sauce trail or spill, some crumbs, an olive or a sprig of herbs, may make a meal special. Some people devote their entire careers to food styling, so if you're interested in learning more, there's a lot to discover! Here, we'll go over some fundamentals you can use in most circumstances.
Ingredients
The ingredients are the first step in food styling. If you're photographing a dish with ingredients that can be seen, you'll want those elements to be well-defined and shaped.
Think of a photo of pasta with mushrooms as an illustration. Instead of just a brown sauce that may taste great but doesn't photograph too well, it would look best if there were a few nice coloured and shaped chunks of the mushroom show.
Make sure the ingredients are well-shaped and more noticeable and recognizable than they are. To highlight the components in the instance of pasta, you may add a few bits of mushroom to the meal after it has been prepared.
You might also sprinkle some of the dish's ingredients. For instance, fresh berries sprinkled around would enhance the presentation of a berry pie, and chocolate chips would make a chocolate chip cookie much more enticing.
Plating
Less is more, and imperfection is the best for food plates for images on another level. Even while a dish of food that is overflowing could appear beautiful to the unaided eye, it might produce chaotic and disorganized images when captured on camera. Your photo will probably turn out better if you leave more room around your subject than you initially thought necessary. You can experiment with this to determine what you like the most.
Remember, you can always add more, but if it's a messier dish, removing food from a scene that has already been served may be challenging. A little intentional disorder or flaw can sometimes improve a photograph. You don't need to clean up every spill because those are the things that give a photograph of a dish the appearance of being an accurate picture.
Composition
Food photography follows all of the standard compositional guidelines you may have already learnt when you first started as a photographer. Remember that our eyes naturally "read" a picture from left to right because we read from left to right in the West. When framing your photo, keep this in mind and arrange your elements, so the most crucial components are shown first. Another helpful tip for food styling is adhering to the third rule.
According to the rule of thirds, you can divide your composition into thirds on both the horizontal and vertical axes and put the subject of your photograph either at one of the intersections of the lines or along one of the lines for a pleasing aesthetic effect. When shooting food, leading lines can be employed as well. Think of a fork strategically positioned to draw attention to the focal point or a lengthy drip of syrup falling into a stack of pancakes.
Props
Make sure your props are kept from dominating your subject by standing out or being more visually appealing, and pick props that help illustrate the tale you're trying to tell. For instance, a pat of butter works well as a prop for a picture of a stack of pancakes, while a label for really colourful syrup might not.
Best Equipment for Food Photography
Cameras for food photography
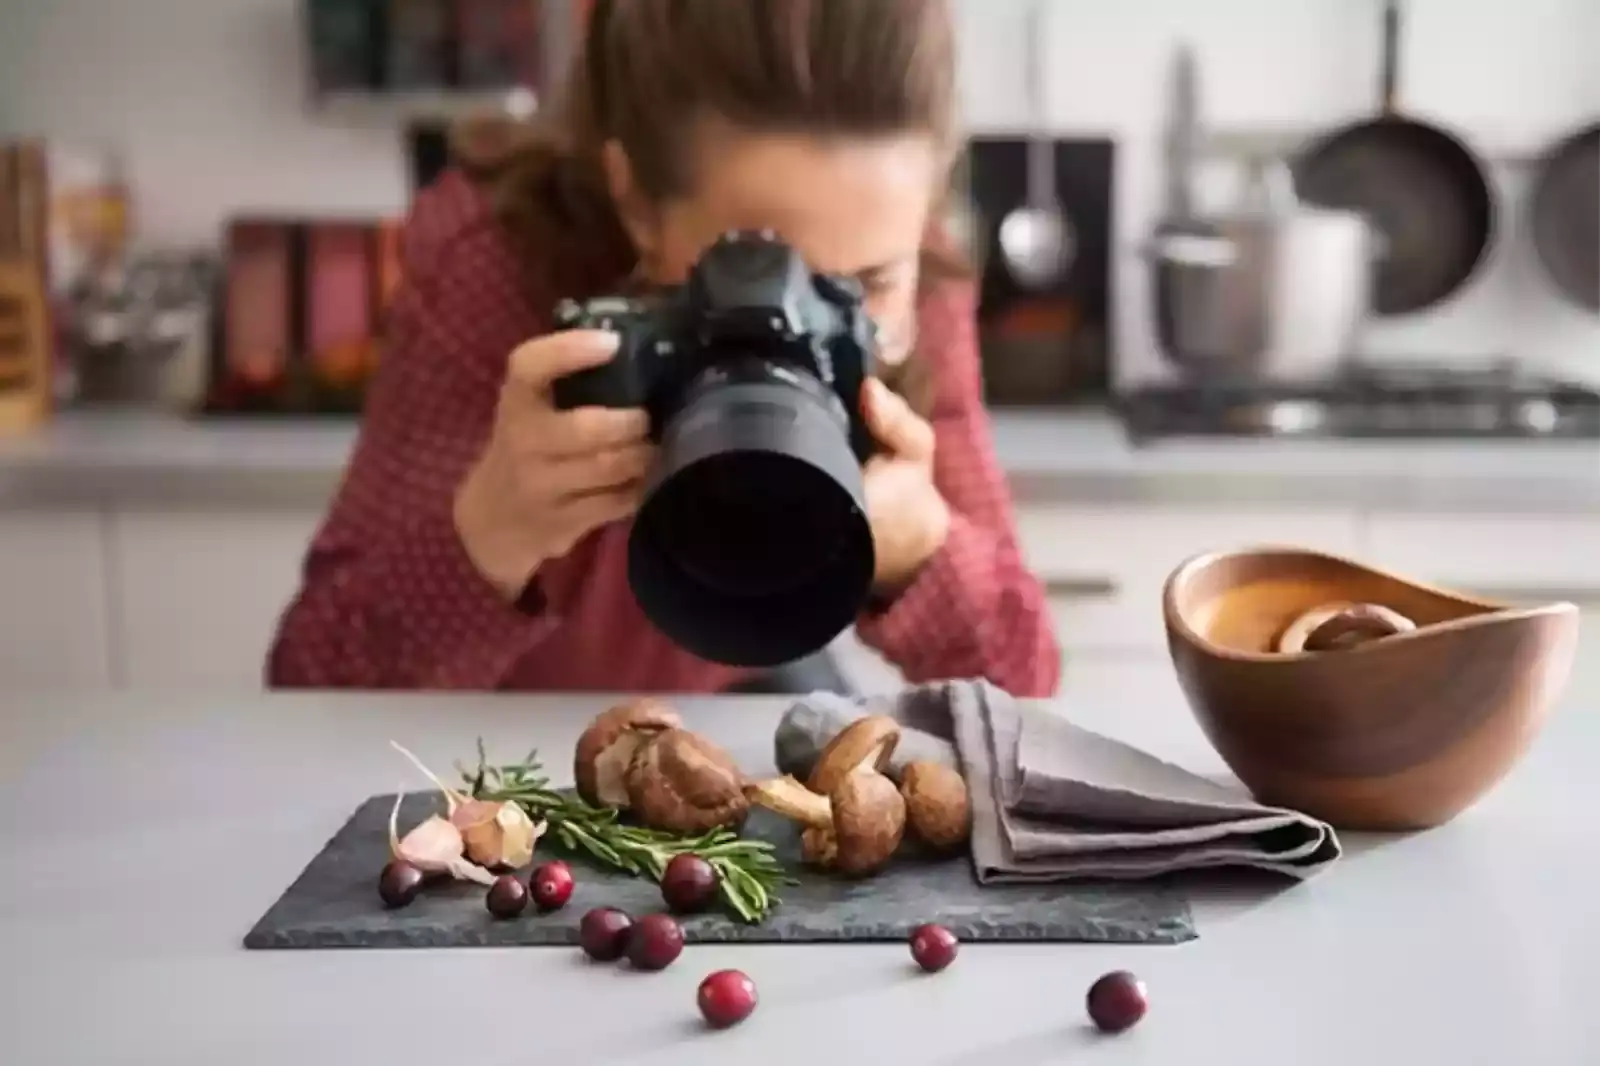
Having a high-end camera is optional to take visually good food shots. For a while, you can get by with a point-and-shoot camera. Use the macro setting, read the instruction handbook, and practice! If you need help deciding, there are a few distinctions between a Nikon DSLR and a Canon DSLR. The best camera in your price range will generate photographs of equivalent quality when compared between comparable models.
Here are the things you must keep in mind while choosing cameras
1. The sensor's dimensions.- Although cropped sensor cameras have significantly improved, you need still be aware of how they may affect the focal length of your lenses when selecting the Maximum file size option.
2. Maximum file size- This won't matter much if you're shooting for the web, but if you want to enlarge pictures for posters, billboards, or even books, you'll need a camera with a big file size. It should ideally capture RAW data as well.
3. The ISO gradation- A camera that can create high-quality photographs at a high ISO is helpful because a higher ISO will reduce image quality but may be advantageous while photographing in low light conditions.
Read reviews and visit a nearby photography shop to test them out before buying. Choose a camera from that brand if it seems more user-friendly and feels comfier in your hand. More so than the DSLR itself, the lens you use for food photography will influence the final product.
Lenses for food photography
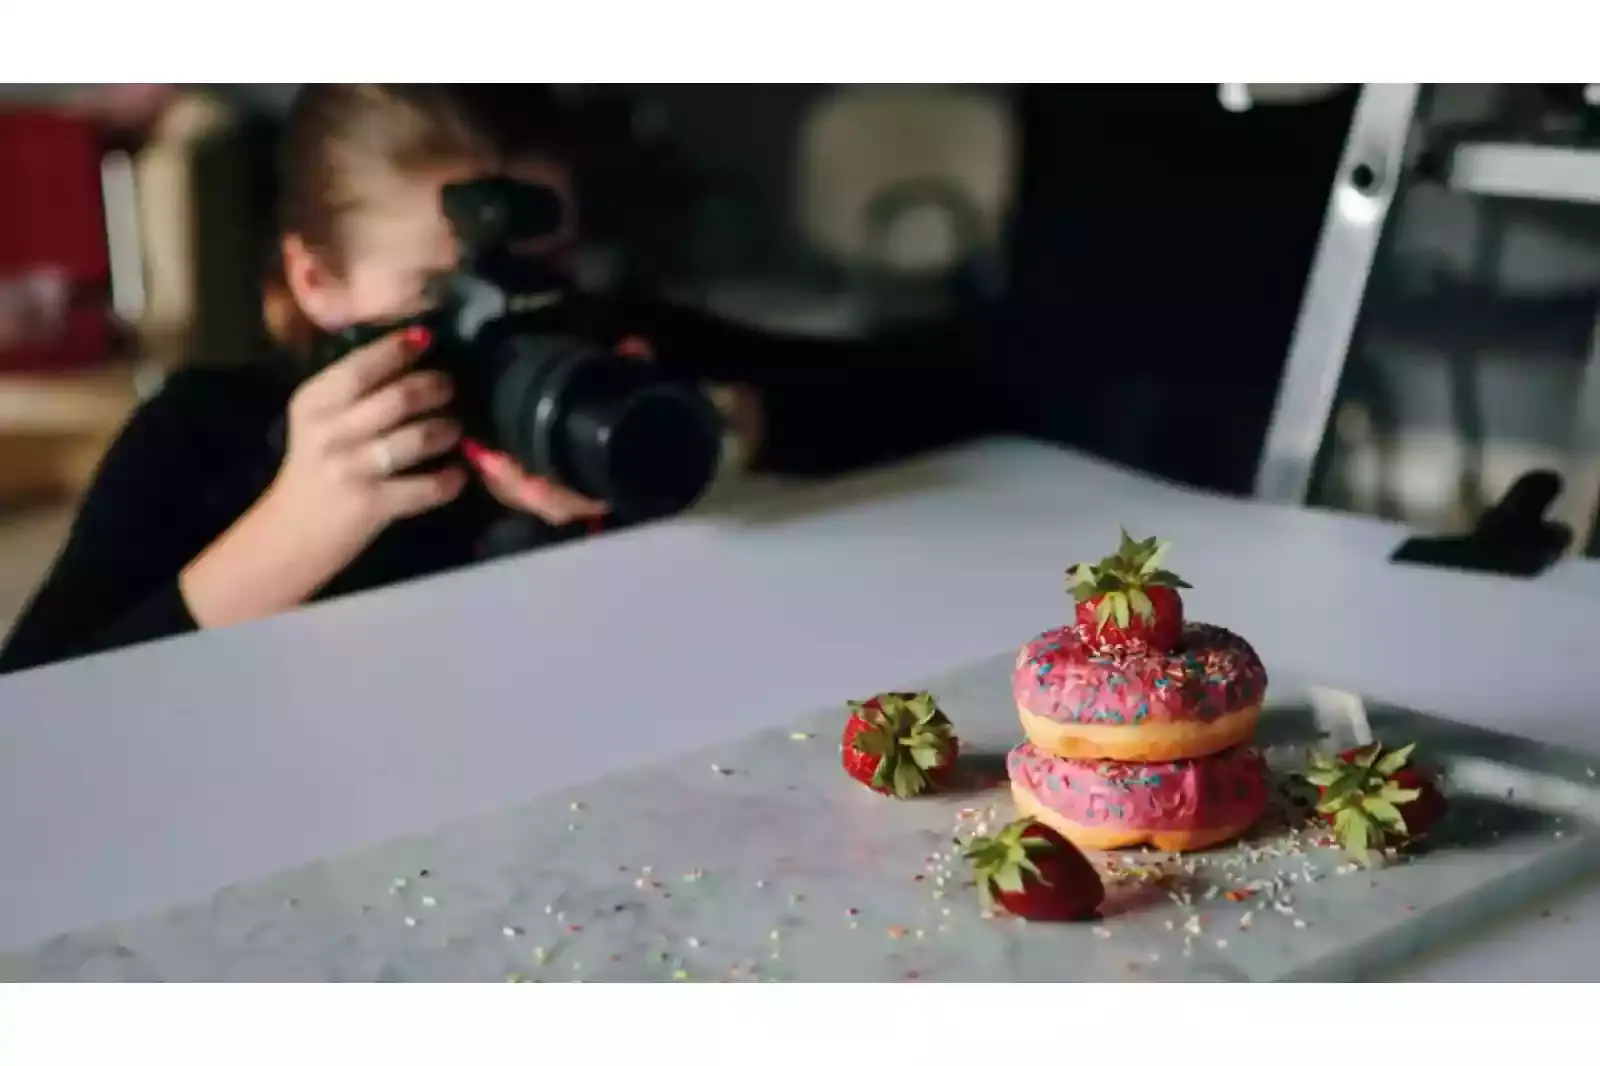
It is recommended to use small, fixed lenses. You need to physically move to get closer to or further away from the topic because the lenses are fixed and cannot zoom in or out. Because they are typically smaller, less expensive, and faster than zoom lenses, it is recommended to get fixed lenses.
They frequently have bigger apertures, which give you more freedom and control over the depth of field while shooting. When using a camera with a cropped sensor, you must modify your lens selection to consider your camera's crop factor.
The crop factor tells you how much of your image is cropped compared to a standard 35mm film camera. The actual focal length at which your photographs appear to have been captured can be calculated by multiplying the focal length of your lens by the crop factor.
Therefore, you must use a 50mm lens in combination with a cropped sensor camera to simulate the effects of an 80mm lens. A good macro lens can also enable you to take some excellent close-ups and detailed pictures.
Other equipment
When photographing food, it's a good idea to use a tripod to prevent camera shake and to enable you to take pictures with a slower shutter speed if the lighting calls for it. A rope can also be quite helpful because it provides you far more control over your scene and allows you to make corrections while you're still shooting, instead of realizing mistakes after the fact.
Troubleshooting Common Food Photography issues
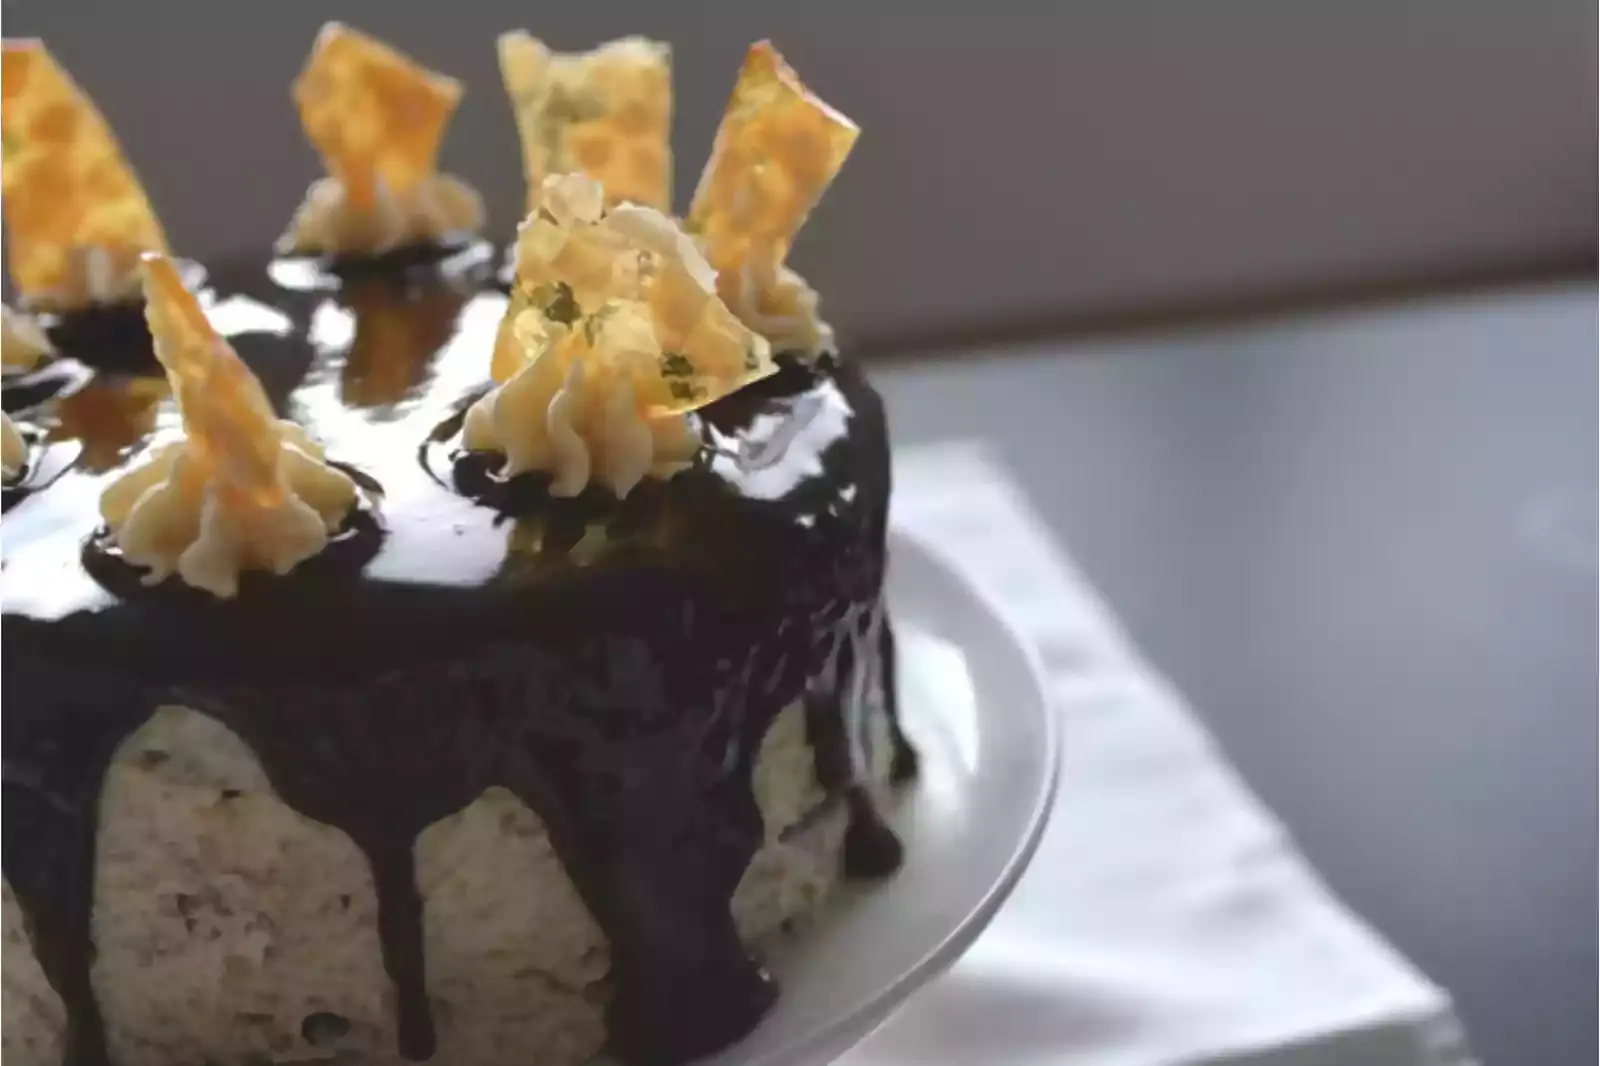
If the photos are blurry
Reason - the reason behind blurry photos could be the camera shake
Solutions - 1) Hold your camera steadier (which is easier said than done);
2) utilize a remote-controlled tripod to keep your camera still as you shoot;
3) Increase your ISO to lessen the amount of light required,
4) Use a quicker shutter speed, which will need you to widen your aperture and go to a brighter illuminated location (this will reduce image quality, however).
The colors aren’t real
Use the white balance features in your software to correct any plates of food that appear overly blue, yellow, pink, or green when editing your images! When the white balance is calibrated correctly, colours spring to life. Shooting in RAW format will make later colour balancing adjustments simpler.
The picture doesn't look professional
Food photographers with experience use lenses that enable them to focus close on their subject by reducing the depth of field. They then edit their images' contrast, levels, and sharpness using photographic software. Sometimes a few little tweaks can bring out the best in a picture.
Significance of Food Photography
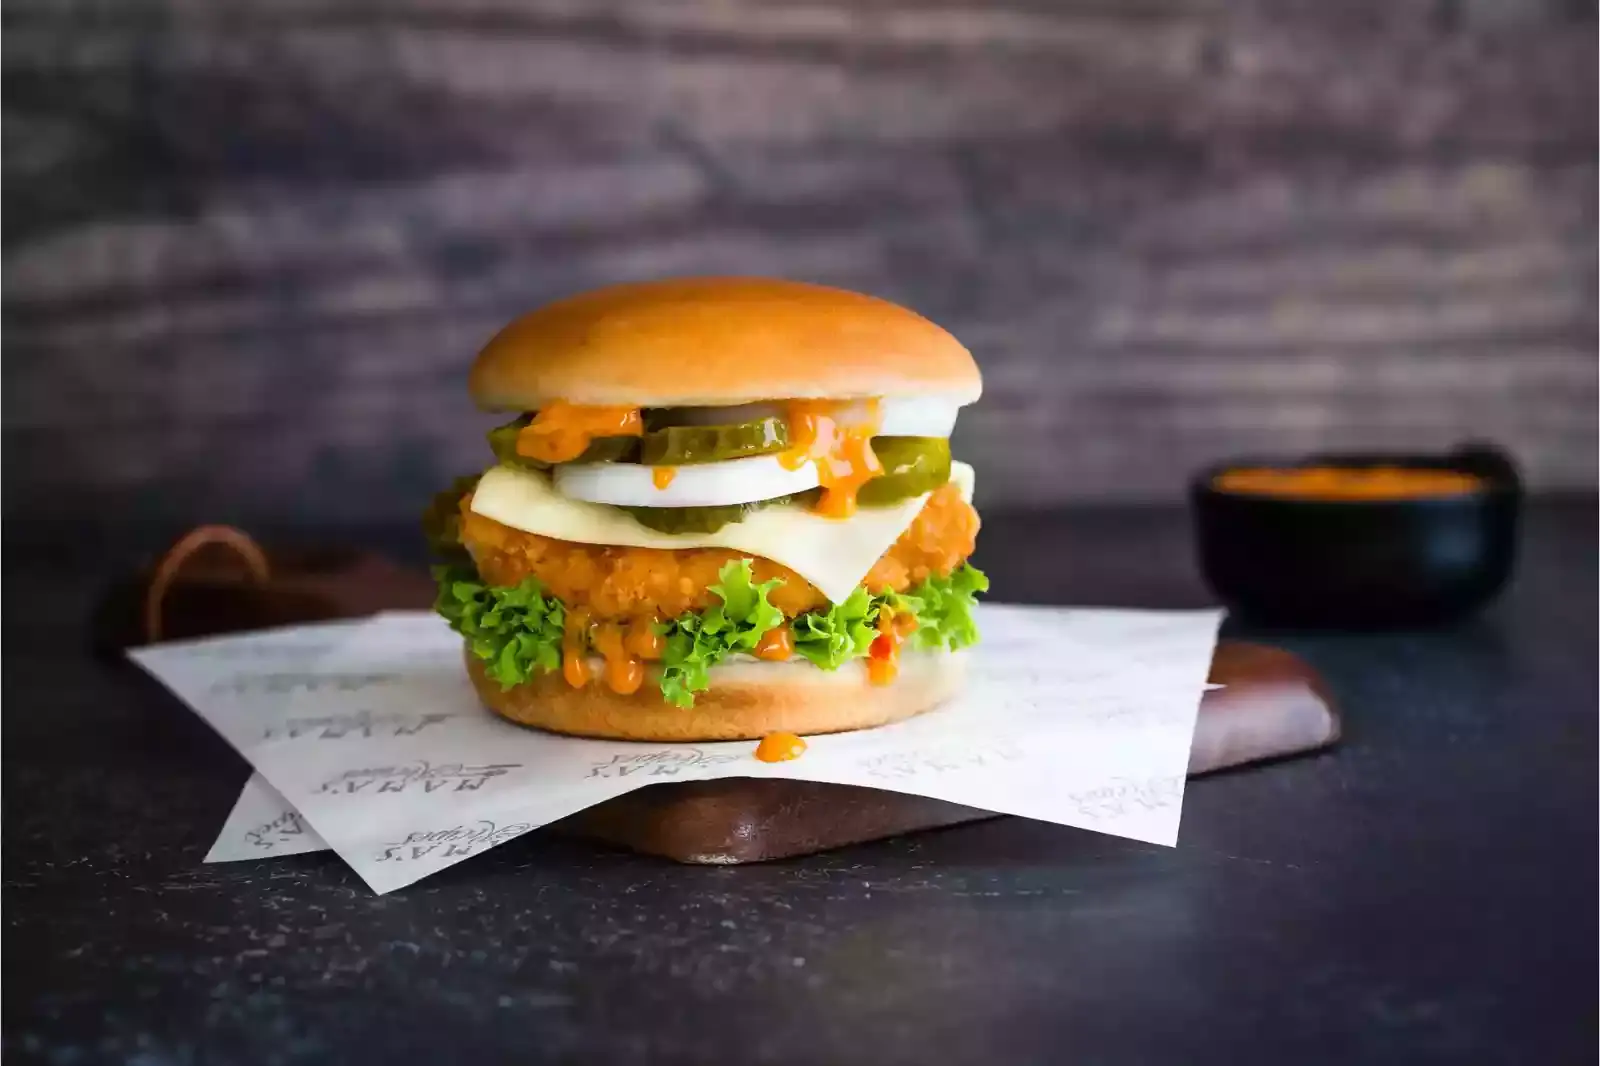
We can all recognize that food has a solid connection to memories and feelings. A particular food's aroma may take you to your early years or a memorable trip. Even if there is no food around, a mouthwatering image of a delicious dish might make you start to drool immediately.
Since we link particular cuisines with particular holidays or celebrations and the best meals are often shared socially rather than consumed alone, food is also significant from a cultural and social perspective.
Food photography takes advantage of our emotional connection to food and uses simply an image to convey a flavour, an experience, or a mood. Because of this, this style of photography is significant to numerous businesses and newspapers. Depending on how it's photographed, the identical dish can appear forgettable, unpleasant, or completely intriguing.
A food photographer's responsibility is to ensure that their photographs convey the proper message. Even if you've never shot food before, mastering the fundamentals can let you move from having nothing to a stunning food portfolio in no time.
How can you do Food Photography at Home?
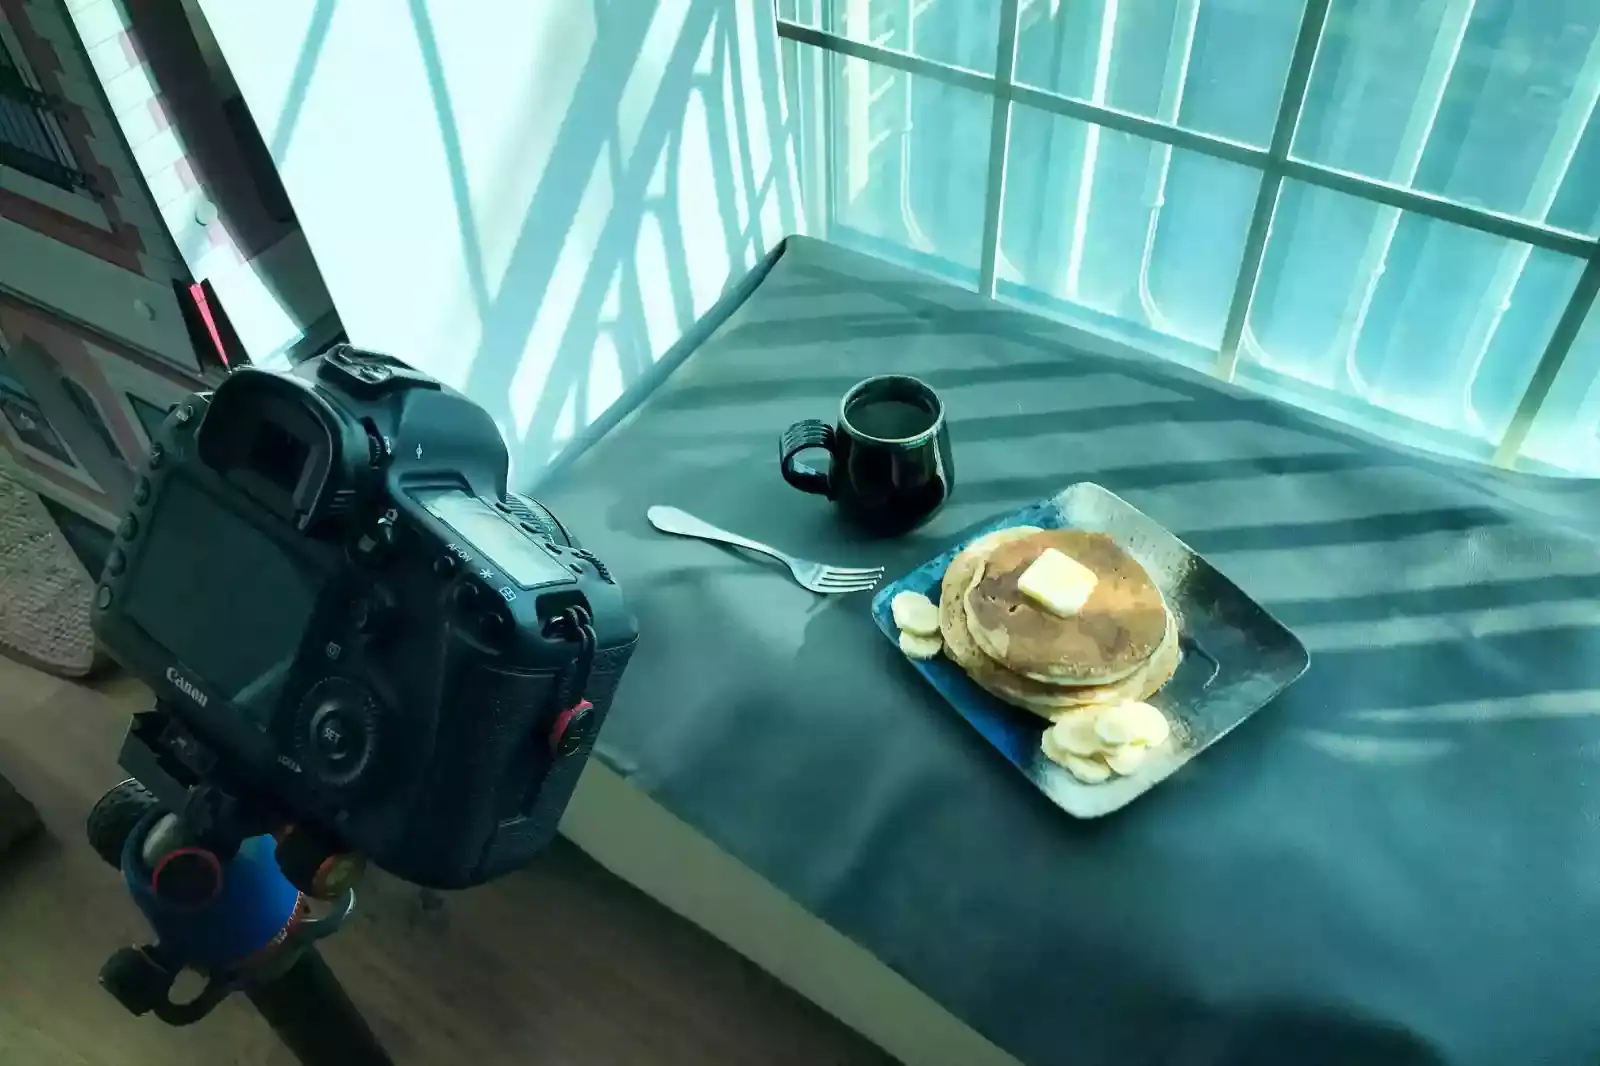
At home, you can create a beautiful portfolio of food images. You can use these food photography suggestions while relaxing in your living room. All you need is a simple lighting setup or a sizable window, your preferred camera equipment, some inexpensive backdrops, and a lovely dish to photograph.
You can easily take food pictures with a professional DSLR camera or your smartphone. You can put them up in your home and start snapping, whether it's an apple, coffee beans, or a variety of other things. If you don't have your lights, make the most of natural light to create beautiful shadows on the food.
Categories of Food Photography
Generally, there are two types of food photography: still-life photography and commercial photography. Here are the different types of Food Photography:
Commercial Food Photography
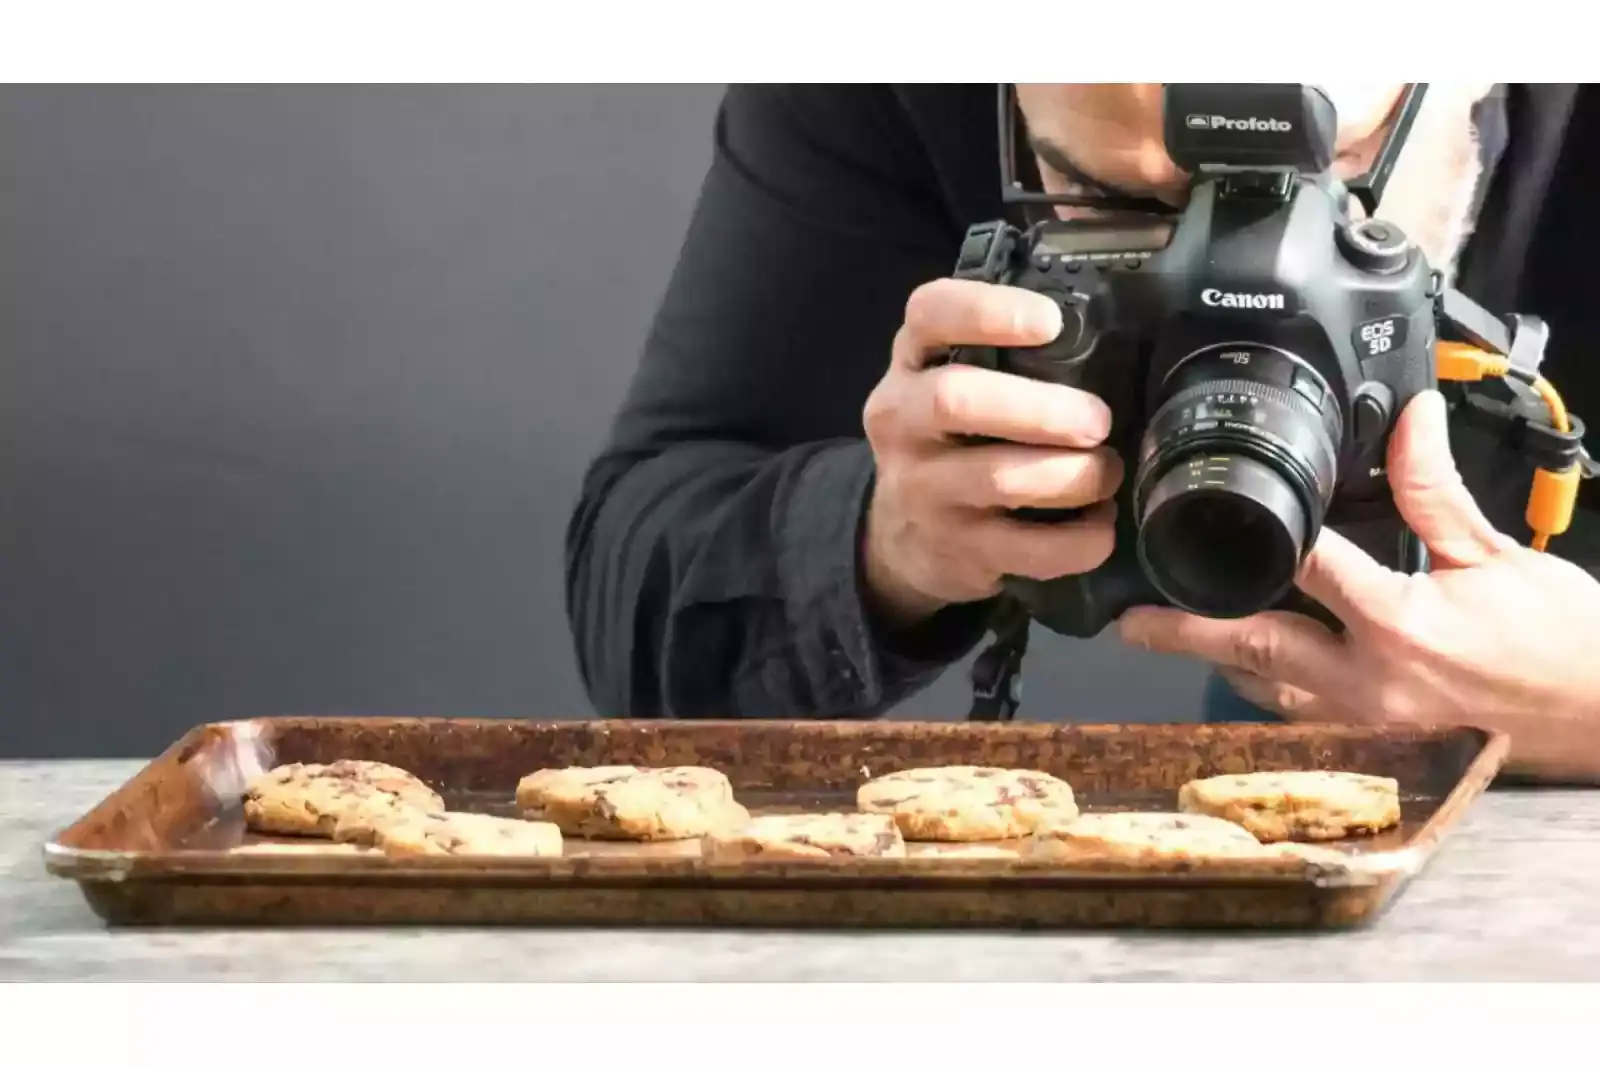
1. Product Photography
The majority of food product photography consists of packaging images. It could be what you see on the cereal box you eat every morning or the product image you see when placing an online grocery order.
If you work for a company that sells food products online, you can also be asked to take product images for a website. This could include the actual product image for individuals considering purchasing and more generic product photos utilized in the website's design.
2. Advertisements
Given the prevalence of advertisements, it should be no surprise that food businesses require photographers who can take appealing photos of their products. Everything from graphics for personal Facebook ads to restaurant visuals you may see on social media can be seen in these adverts.
Additionally, food photography might adopt a more editorial slant. In this instance, the food imagery is more lifestyle-based, so it's not necessarily trying to sell you a specific commodity or service. Instead, the image's goal is to support the creation of a particular mood or feeling.
Editorial Food Photography
1. Recipes/cookbooks
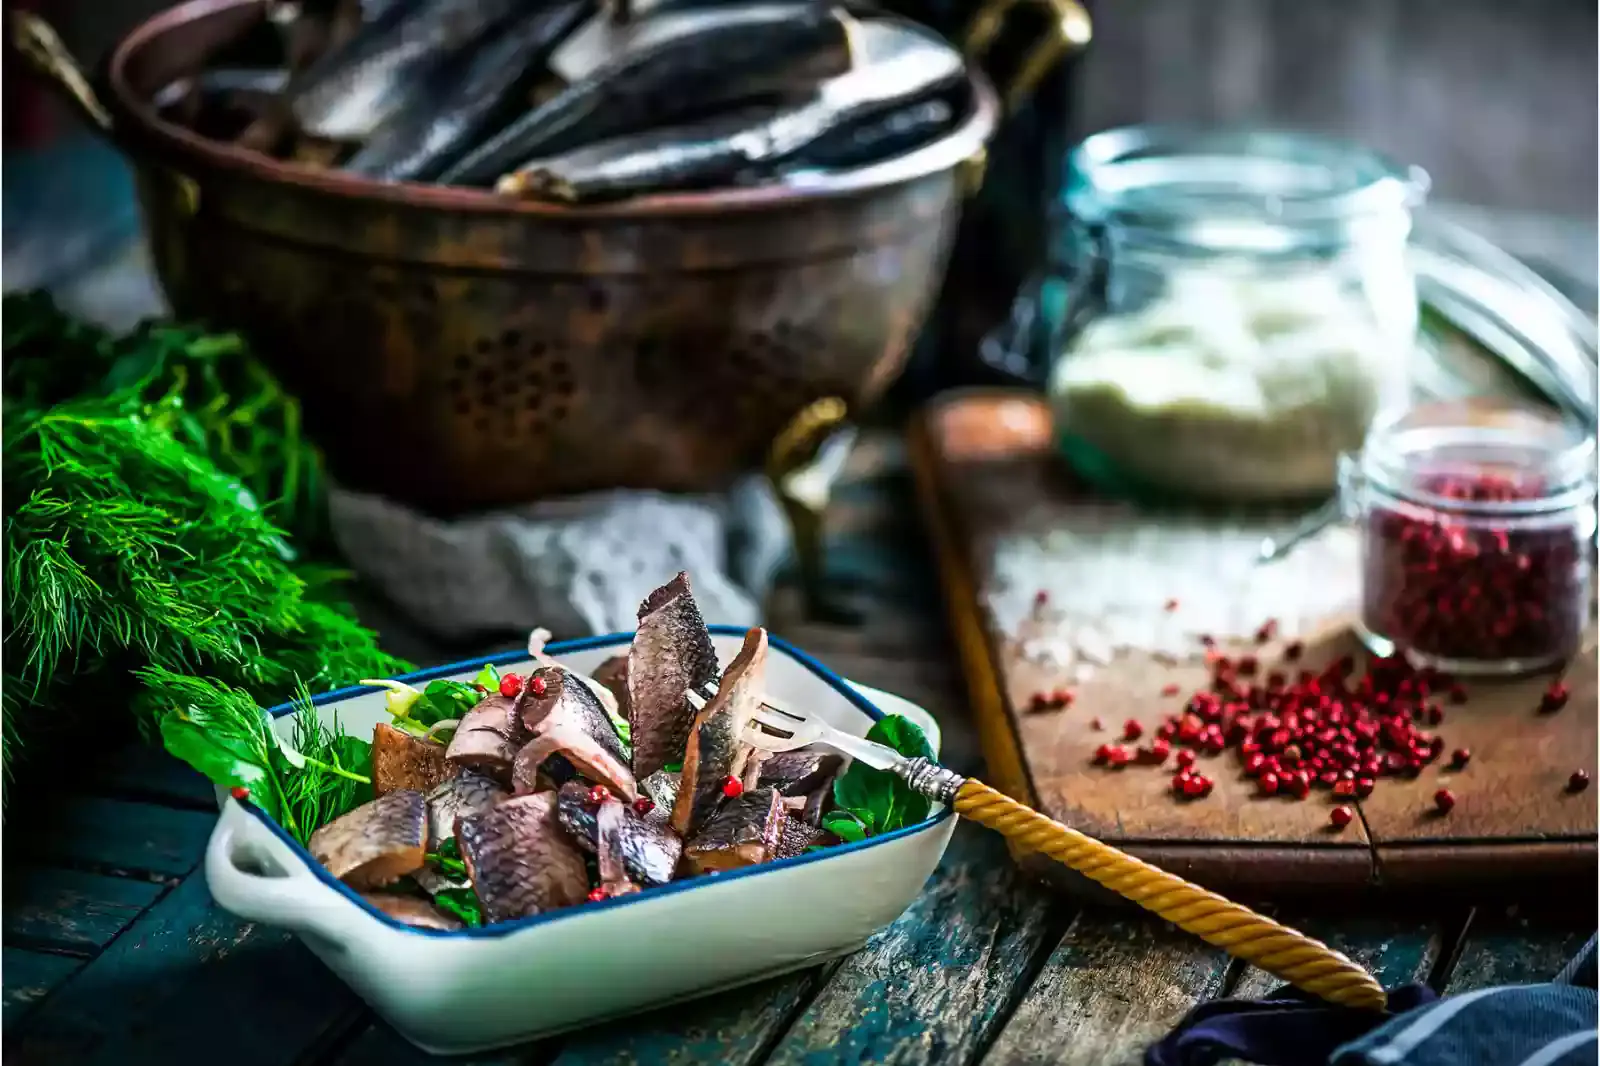
The pictures in a cookbook are only sometimes used to promote the book once purchased. Instead, users are encouraged to build the recipe using photographs. Additionally, cookbooks frequently have lifestyle photography that depicts the recipe creator preparing a dish or even a family dining together. Together, these pictures help to create the aesthetic or mood of the book.
2. Lifestyle
Lifestyle photos of food are frequently utilized on social media by "influencers" in the food industry. Here, the goal is to demonstrate how the food item is used in daily life (i.e. a food influencer snacking on their favourite granola bar or a new ice cream flavour enjoyed by a group of friends). Although it may not be the picture's focal point in this instance, the food item is still obviously visible.
3. Documentary
This is one of the few instances in which food photography adopts a more natural aesthetic rather than being staged or stylized. Documentary food photography narrates a tale and enables the audience to comprehend details such as how food is prepared, where it originates, and what ingredients are used.
Editing and Post-Processing For Food Photography
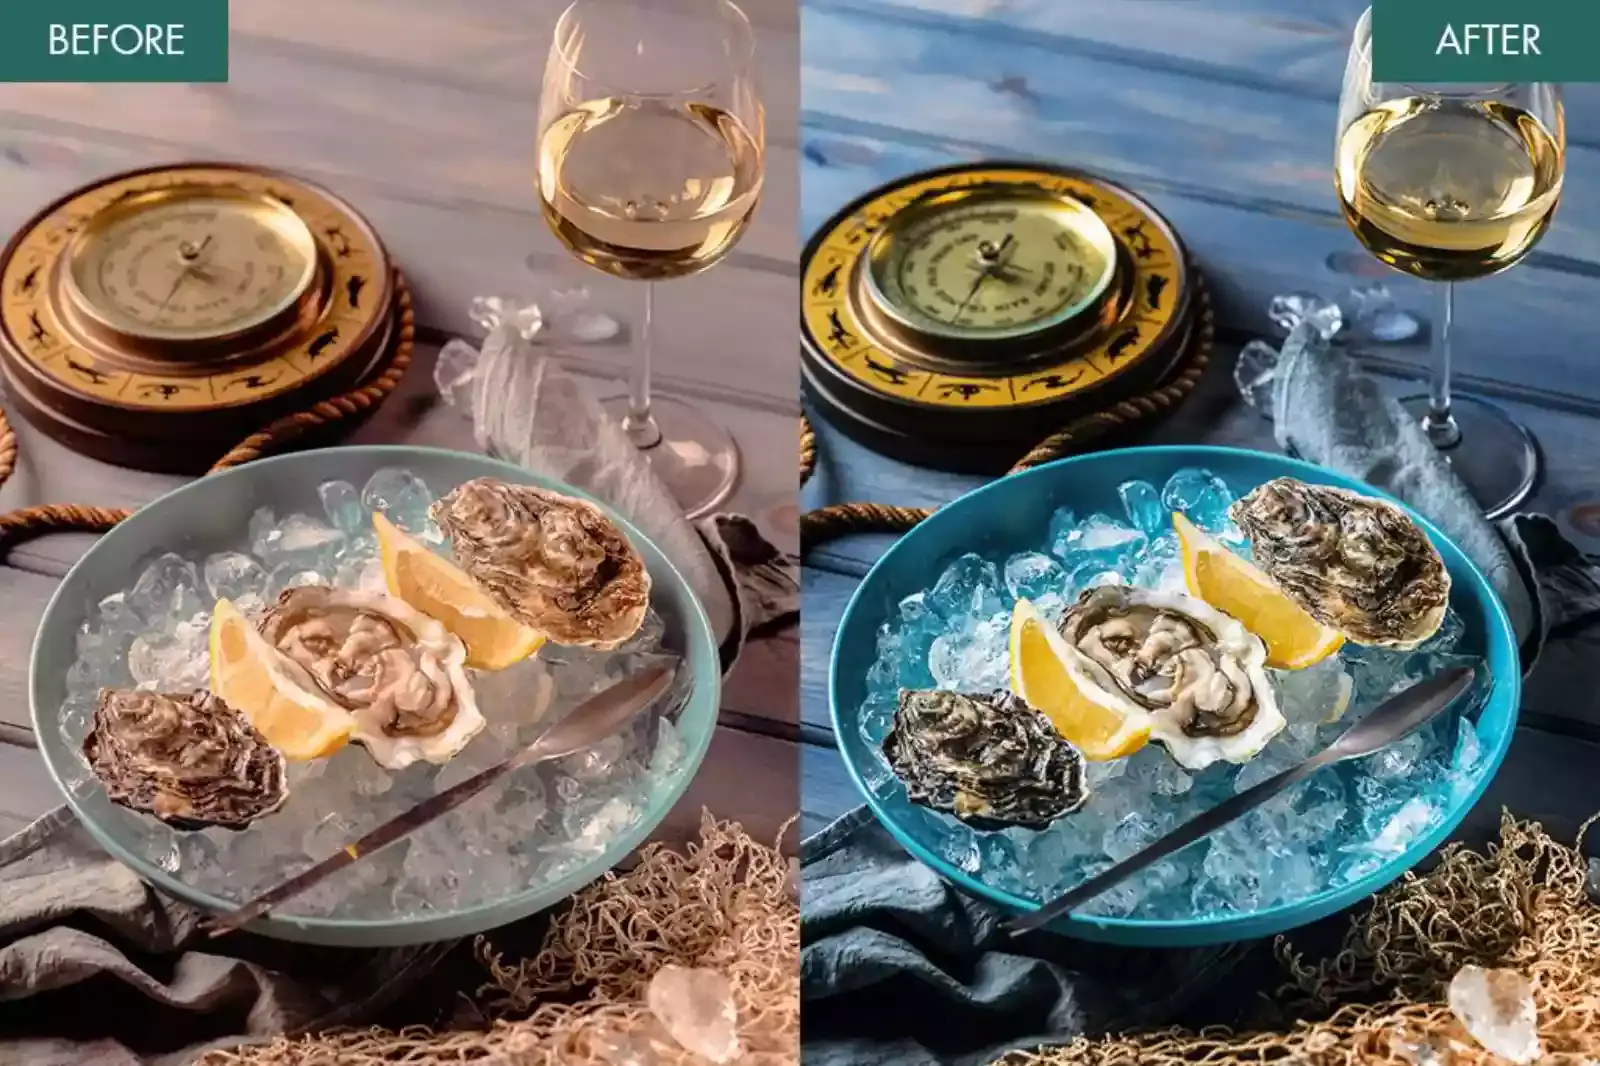
Here are some editing and post-processing tips for Food Photography:
Adjust the white balance and color of food photography
When choosing your backgrounds and plates for food photography, as well as when arranging the lighting, keep in mind the intended use of your images. It would be best if you focused on the white balance of your image background. You can use the free editing tool Erase.bg to edit the picture's background.
Apply Filters to Food Photography
It could be necessary to separate the food from its background, which can be done most easily on white. It's a valuable skill, but being good at it requires time and effort. Improve your food photos by using filters in the background. For this, you can use Erase.bg application to remove, add and change the background of your Food picture.
Create a Blurry Background To Emphasize the Food
The fundamental tenet of food photography is that the food comes first. Blurring the background is the most popular technique for making food the main focus. Using Erase.bg, it is now simple to blur a photo, in contrast to the past when it required significant photographic skill or sophisticated photo editing tools.
Change Background for the Best Food Photography
The original background can be removed and a new one added as a means to clean up the background in addition to clearing out the clutter. Change your background from what you usually use to something entertaining to elevate your food photography. You can easily remove background to your food photography using Erase.bg.
Creating your Food Photography Portfolio
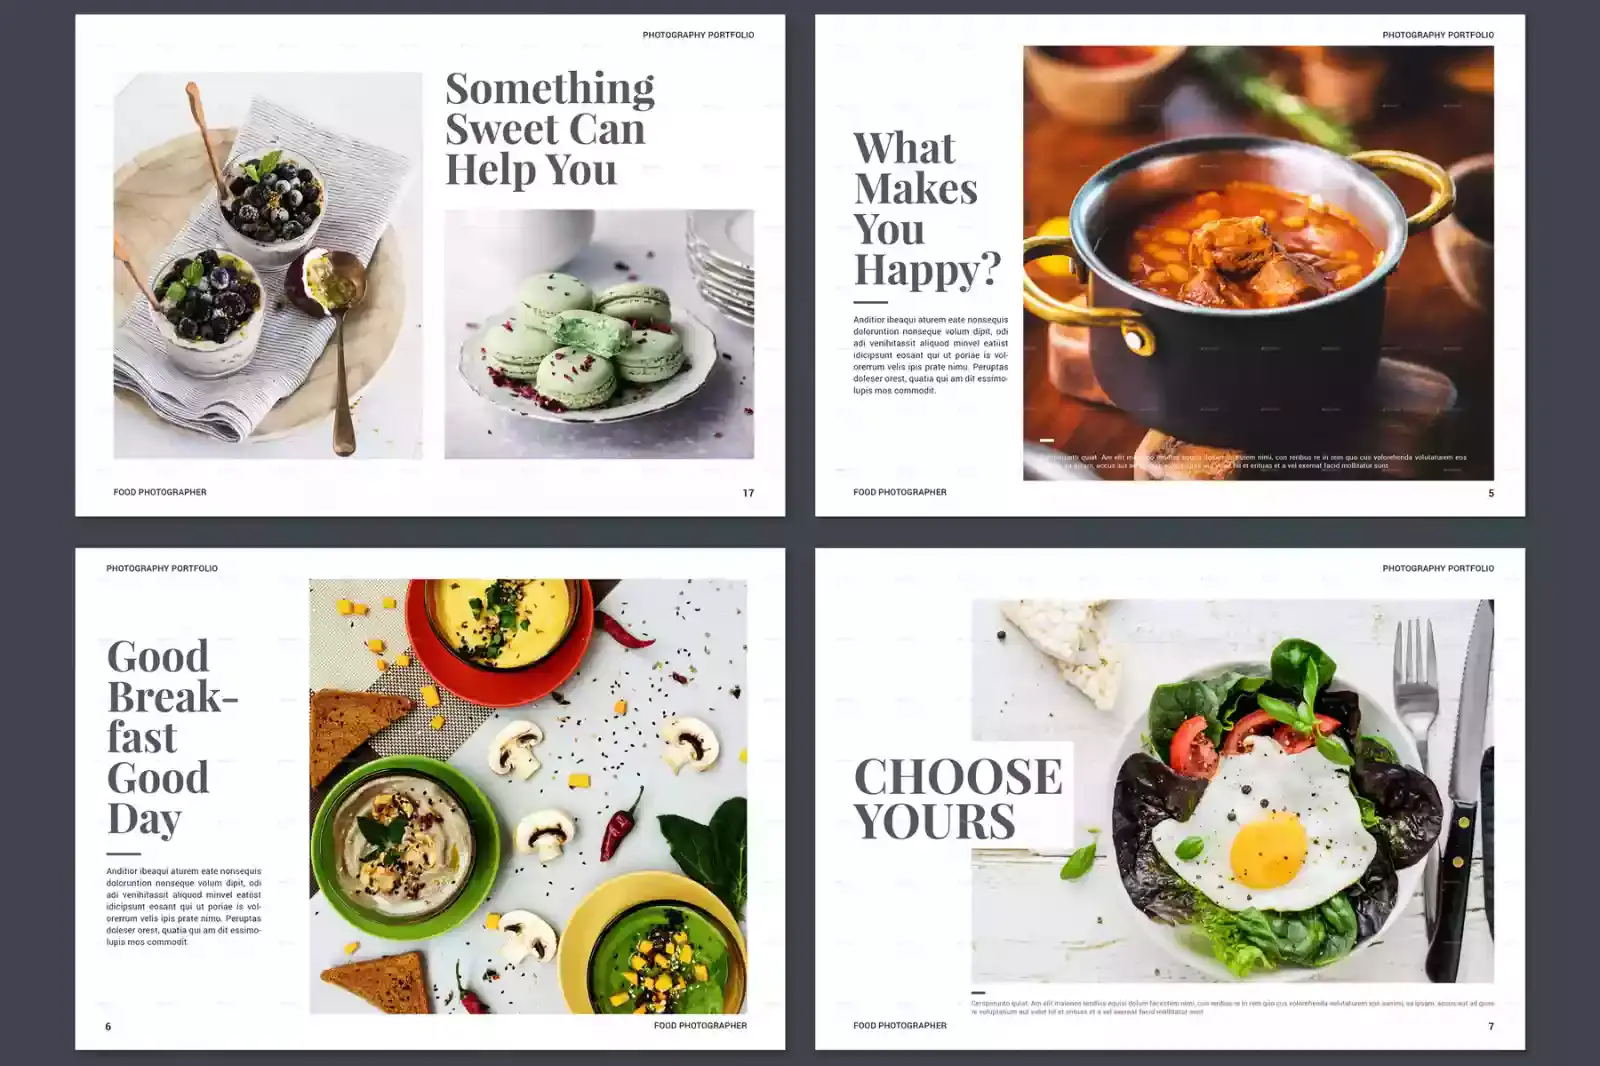
An excellent online portfolio is a requirement for every professional food photographer. The most crucial professional resource you have for self-promotion and marketing is your portfolio website. For potential clients to know what to anticipate from your work, create and compile a consistent collection of photographs with a defined style.
Your chosen photography website builder should provide you with the functionality, flexibility, and ease of use you need to create excellent photography portfolio websites without the need for coding expertise. That is where inspiration might be helpful.
How do you Price your Food Photography?
1. When pricing your services, it's crucial to consider how much time you'll be spending on a job. The time spent shooting one photograph is significantly less than the time spent shooting an entire package of shots (i.e. social media images, advertisements, product shots, etc.). An hourly charge may be suitable in some situations if you need clarification on the precise length of a project.
2. Also, consider the type of tools you'll need to do the project. Your project investment will be far lower if you only need a camera than if you also need lighting, props, and models.
3. Last but not least, remember to include the license in your service cost. Understanding the licensing agreement you sign with the client, the time the image will be used, whether the customer wants exclusive use, and whether the client will use your image in paid advertisements are all examples.
FAQ's
What are 3 important food photography tips?
Here are three important food photography tips 1. Lighting is key: Good lighting is essential for capturing mouth-watering food photos. Natural light is usually the best option, but if that's not available, consider investing in a good artificial light source. 2. Composition matters: Think about how you want to frame your shot and what elements to include. Try experimenting with different angles, backgrounds, and props to make your photos more visually interesting. 3. Keep it simple: Focus on highlighting the food itself and keeping distractions to a minimum. Keep the background and props simple to allow the food to take center stage.
What is important in food photography?
Lighting, composition, and simplicity are all important factors in food photography. Good lighting is key for capturing appetizing images, while thoughtful composition and keeping things simple can make your photos more visually appealing and let the food take center stage.
What camera settings should I use for food photography?
The ideal camera settings for food photography will depend on the specific situation, but here are some general tips: Use a low ISO setting to reduce noise and maintain image quality. Choose a wide aperture (small f-number) to create a shallow depth of field and blur the background, drawing the viewer's attention to the food. Shoot in RAW format for maximum flexibility and control over post-processing.
What is the best ISO for food photography?
The best ISO setting for food photography will depend on the lighting conditions and other factors, but in general, it's best to use a low ISO setting to minimize noise and preserve image quality. A range of ISO 100-200 is a good starting point for most situations. However, if the lighting is very low, you may need to increase the ISO to avoid underexposure or camera shake.
What is the best effect for food photography?
The best effect for food photography will depend on your personal style and the specific dish you are photographing. However, a shallow depth of field, achieved by using a wide aperture, is a popular and effective technique for drawing attention to the food and creating a pleasing background blur. Additionally, enhancing the colors and texture of the food through careful lighting and post-processing can also help make your photos more appetizing.
How do you boost your creativity in food photography?
Here are a few ways to boost your creativity in food photography: Experiment with different angles and compositions to find new and interesting ways to showcase your subject. Play with color and texture by using different props and backgrounds, or by manipulating the lighting to create unique effects. Look for inspiration in other forms of art or photography, and try to incorporate those ideas into your own work.