How to Get a Pure White Background in Product Photography?
If you are into product photography, you might as well have bumped into your fair share of struggles with the Background. After all, finding the perfect background that makes your subject pop up can be pretty fatiguing, even if it might not seem like a tough job at first! One has to fulfil several requirements while capturing the perfect shot.
The colour choice of the Background also helps to make your photography attractive and eye-catching! From different colours to blacks and whites, the Background colour can be chosen according to personal preferences and hence, can vary from person to person.
If you don’t yet know, a pure White Background is a perfect and universal choice that works for almost everyone! Why do you ask? You will come to know about that in a minute. So, if you wish to find out how to get a perfectly White Background for your Product Photography, keep reading the article, as we will solve every query you might have regarding Backgrounds in Product Photography.
Why Do Photographers use a White Background?

Now, you might wonder- What’s so special about the white backgrounds that set them apart from all the other coloured Backgrounds? Well, when it comes to product photography, a white background is considered an ideal pick as it leaves no room for any visual disturbance, which helps to fix the focus of the consumer on the product or the subject itself.
A pure white background is an effective way to ensure that your product remains the centre of attention! Especially for clothing photography, a White Background is the best choice as there is no chance of a colour or pattern clash, making it suitable for a wide range of styles- just make sure that the clothing isn't white, of course!
Benefits of White Background
Apart from the prior mentioned reasons to choose a white background, there are a lot of other reasons that suggest you use a White Background in commercial photography- take a glance at some of those:-
1. White Backgrounds are very adaptable and media-friendly in all ways possible! An all-white surface frame is the most convenient if you want to use the image on different platforms. You might have seen how Amazon uses a White Background for its products, making them appear more professional.
2. White patterns also seem more refined. For instance, consider how different colours convey different meanings; the white colour calls to mind a sense of security and simplicity, as well as other positive emotions that can help your product appear more appealing!
3. White Backgrounds are perfect if you want to take consistent pictures of your brand. It maintains a level of continuity which makes your products appear trustworthy! In a way, it prevents breakages of a pattern, which, if not taken care of, may lead to a fall in the quality of your photography and product.
For instance, if you style your photos differently, and there is no definite pattern that binds them together, they will not appeal to the eyes of the consumer as well. Hence, white is the best choice if you want your advertisements to emanate a strong vibe of trust and professionalism.
What to Use for White Background Photography

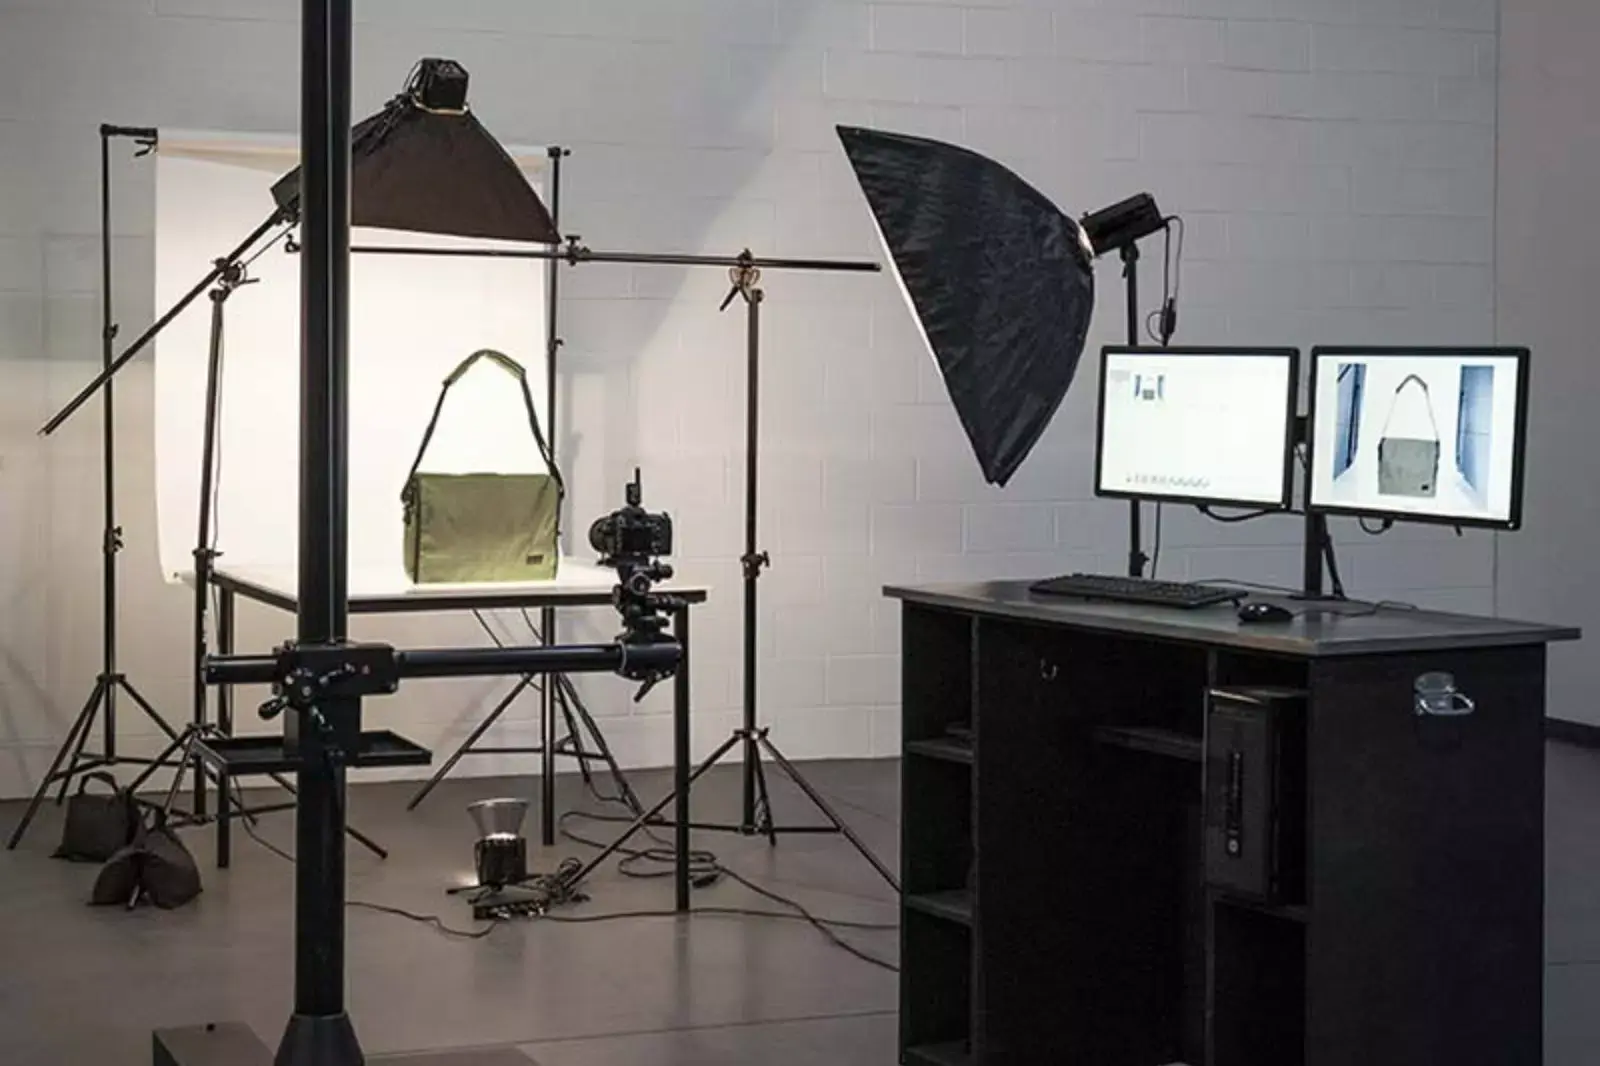
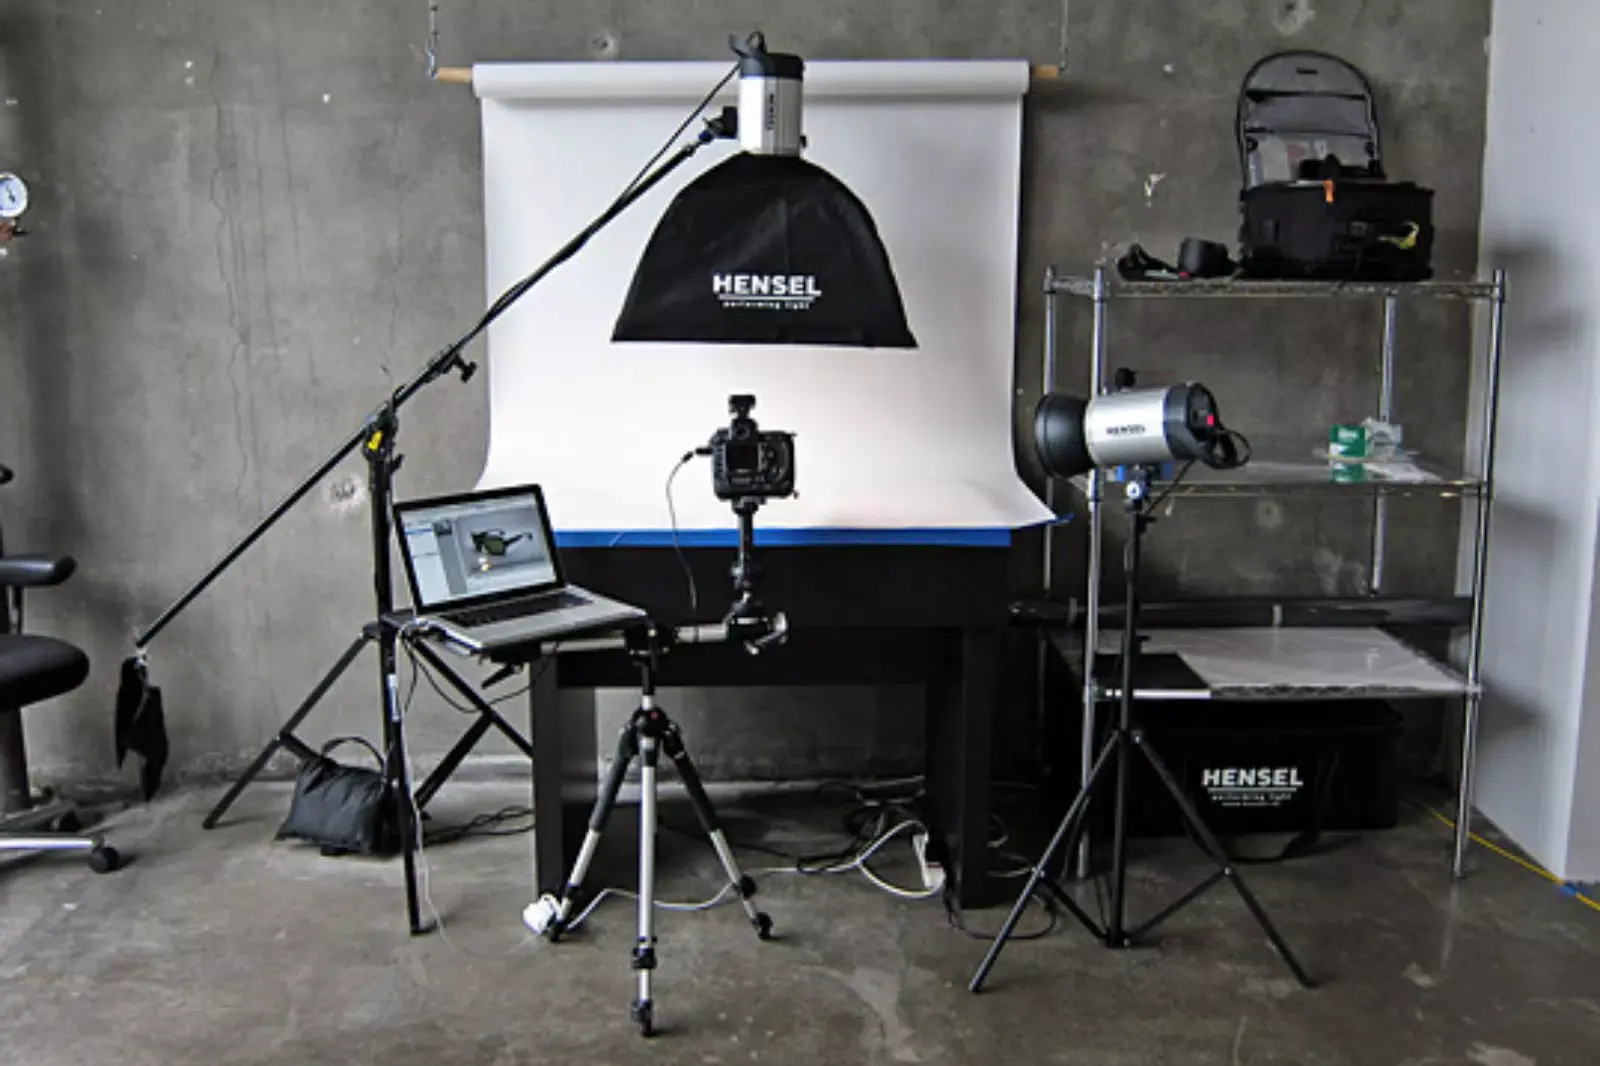
The equipment may differ depending on the photography styles and studios you work with. However, in every type of setting to get a White Background, these are the things that you will always need:-
1. A White Background- This one’s a no-brainer, of course. For White Background Photography, you will need a white backdrop first. So, here’s what you can use to get a White Background-
- White Fabric- You can always grab a white muslin fabric cloth from your local craft store since it’s lightweight. Cotton-polyester combinations are pretty good too. However, you should avoid working with white canvas as it’s not so smooth and adds a lot of texture, which isn’t something we want. However, you must ensure that the fabric doesn’t wrinkle and is free from all creases! So, keep that in mind before buying a fabric cloth.
- White Paper- If a fabric background doesn’t work, you can change it to a paper background! All you need is seamless white paper! You can also set it up with a sweep. Wondering what a sweep is?
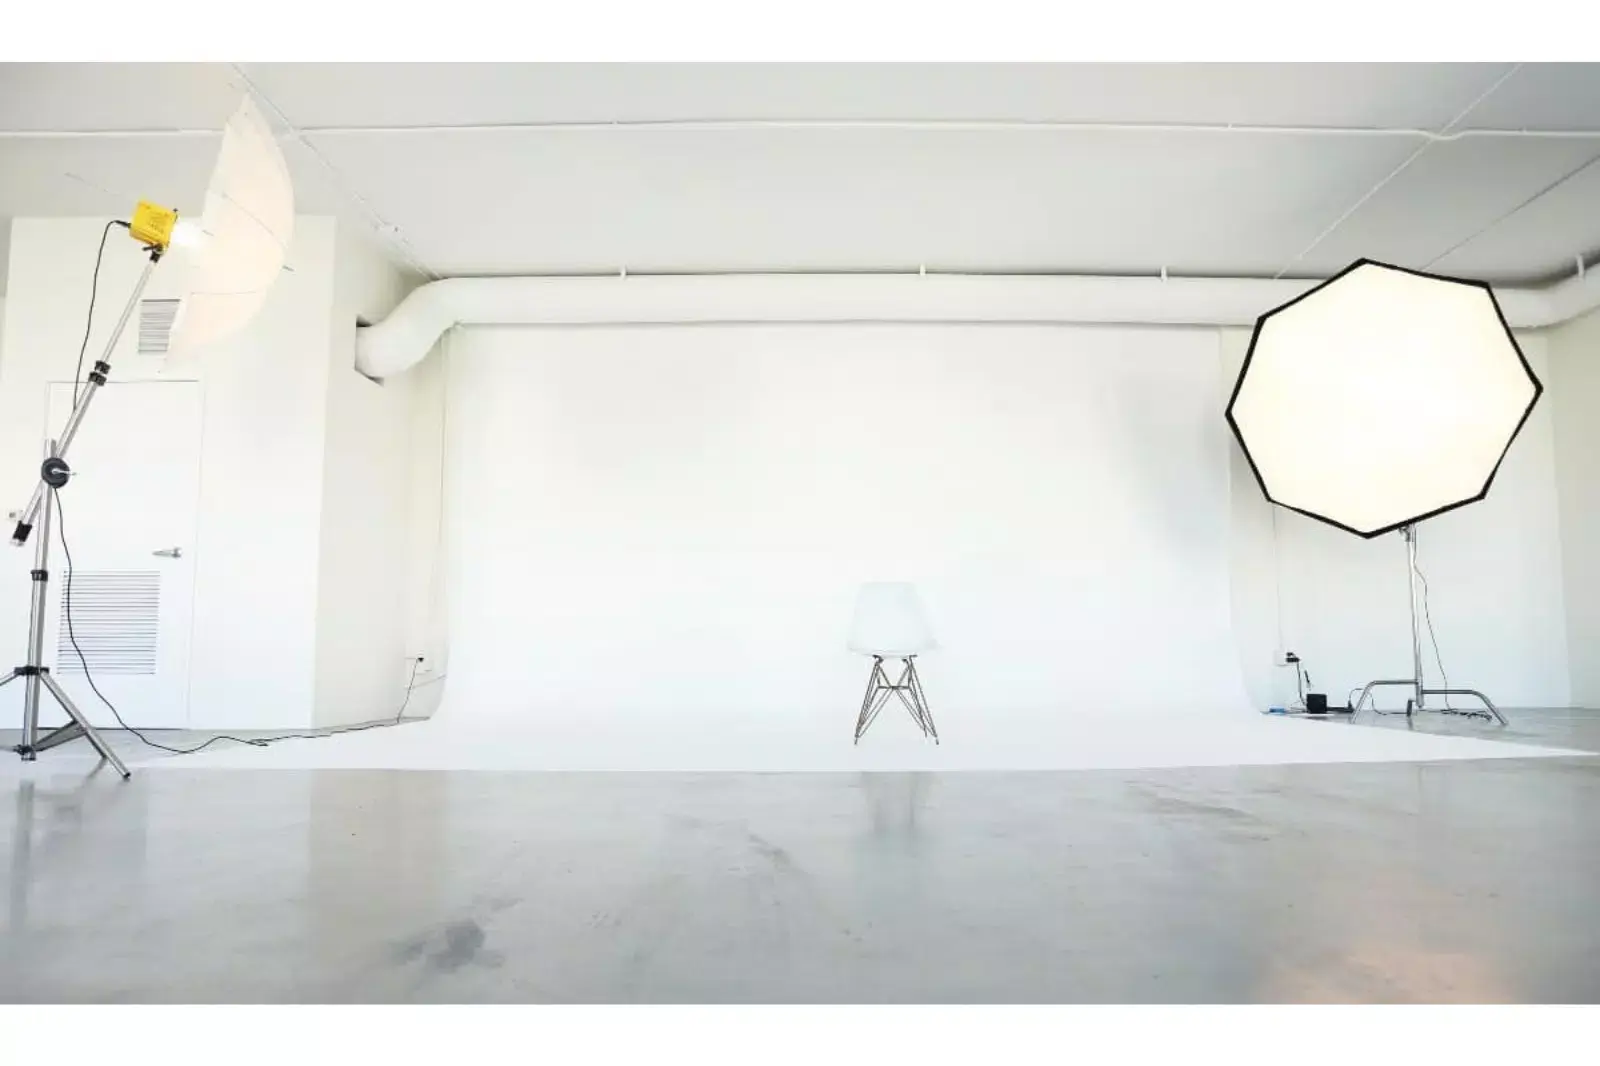
A sweep is a white background with no sharp corners or blemishes that transitions smoothly from a vertical to a horizontal surface. It is made of a single piece of paper that curves to create a continuous background. Sweeps are excellent for photos where you want your product to float in a white void and do not want a natural table/wall effect!
- White Foam- You might want to consider going for a foam core instead of fabric or paper because it a rigid, so you don't have to worry about ironing it beforehand! You can prop it against a wall or chair to keep the vertical piece upright. However, it can be tough to support it as there is a real danger of the foam falling forward and crushing your scene! Also, foam core can dent easily, so check that your subject props aren't heavy or pointy.
- White Wall- If everything else fails to work, go for a white wall! It may be the most straightforward solution for a backdrop, but be wary of any textures that may be difficult to remove later.
2. A White Surface- Any flat or stable surface, such as a table, countertop, or chair, can serve as a horizontal surface. However, you should use a completely white backdrop when exploring surfaces for product photography, particularly when attempting to achieve a completely white background.
3. Lighting- In photography, lighting is the most important way to control the background. But how do you achieve the purest white possible with no distractions?
- Natural Light- Natural light is frequently preferred by amateur and professional photographers. It may require more careful planning and timing than artificial light photography, but it is ultimately free, as are many other beautiful and bright things.
- Artificial Light (Studio lights with modifiers) - Artificial light is a consistent and dependable illumination source with numerous advantages over natural light. The goal is to give you as much control over your shot's brightness and colour "temperature" while simulating the feel of natural light. Your light's colour temperature refers to whether it is neutral, warm (yellow), or cool (blue).
How to Set Up a White Background Photography

After gathering the required equipment, gather your cameras and tripods, as now comes the exciting part!
Step 1. Set up the table and the sweep
If you are shooting with natural light, set your table close to the light source (let’s assume a window in this case). Begin by orienting the window 90 degrees to the right or left of your setup. After setting up your table, set up your sweep vertically. For instance, you can place the table against the wall and tape your sweep to the table and the wall.
Note:- If you are working with artificial lightning, hide a single studio light beneath the table, facing the white Background and unnoticed by the camera. It illuminates the Background and produces a crisp white image. When the space requires more illumination, a reflector, in conjunction with the studio light (hidden from view), can create a wider light spread.
Step 2. Set up the camera
Different cameras have different settings- some might be completely auto, whereas others may give you the liberty to make adjustments. The great thing about window light configuration is that you can leave everything to auto, and you are good to go.
Start by setting your white balance to auto and turn off the flash. Then set the camera to the highest quality, and adjust the aperture and exposure.
Step 3. Place the product in the centre
Setting up your product appears simple, but it can take some time to perfect. Many minor movements and adjustments are often required to align everything perfectly.
Step 4. Take some test shots
Now that you’re done setting everything- click a couple of test shots, and see how they turn out! Get experimental and creative, and see what works and what doesn’t! Keep trying out different angles and directions till you get that perfect shot!
Step 5. Edit and retouch the pictures
Upload your images to your computer and see how they look. The camera's back could be more accurate. Organise all of your images using Adobe Lightroom. Once you've decided on the final image, it's time to retouch it.
If you photographed your product correctly, it should be properly exposed, with a light grey background. You can retouch the photographs using Pixelz, as it’s pretty easy to use. And that’s it! You have your very first picture-perfect product photography sample for your advertisement in front of you!
How to Do Background White in Photo
- Does all of this sound too overwhelming? Do you want a simple approach that works like a shortcut?
- Well, if that is the case, we have something just for you! Try out our free background removal AI tool- erase.bg
- With this, you won’t have to worry about finding and setting up a white background, as this tool will clear up the background for you.
- After that, just replace the transparent background with the white one, and there you have it- Your perfect product photograph! Wasn’t so hard, was it?
FAQ's
What do photographers use for white backgrounds?
Many photographers use seamless paper as their white backdrop of choice. It's cheap, small, and simple to set up, and a white backdrop can be made to look grey or even black if properly lit- which makes it a versatile choice.
How much does a backdrop cost?
The size and difficulty of the design generally determine the cost of a custom backdrop. The prices can range from $1500 to $8000 or more.
What is the easiest and fastest way to get a white background in product photography?
The best way to get a white background (especially for product photography) is to use our most trusted tool- erase.bg, as it will save you time and energy! Moreover, this editor is both beginner and expert-friendly, so it’s perfect for everyone.
What is the best backdrop for photography?
According to to explore photography, these are some of the best photography backgrounds out there:- V-Flat World Duo Boards Fovitec Reversible Backdrop Lastolite by Manfrotto New Polyester Photo Studio Backdrop Julius Studio Chromakey Photo Backdrop Kate Pop-up Photo Backdrop (Grey/Teal) Savage Seamless Background Paper – Fashion Grey
What material is the best for a photography background?
Vinyl backdrops are more opaque than fabric, resulting in more vibrant colours in your photos. Vinyl is also more durable and can be used outdoors if you shoot outside the studio.
Why does my white background look grey or blue?
A white background that appears grey is underexposed, as any camera's automatic metering seldom exposes a white object correctly. On the other hand, if it appears blue, it is because the white balance is off.