Remove Backgrounds Automatically From Your IOS Device
You no longer need to be a master in photo-editing apps to complete the job when you want to erase the background from an image. Users may erase backdrops easily by utilizing Erase.bg. Keep scrolling to figure out how to snap a picture with your iPhone and erase the backdrop. If you want to capture product images and integrate all of their backgrounds, erasing image or photograph backgrounds on your iPhone can provide you with many new alternatives.
You can also employ this tool to erase the congested background from a photograph you want to include in a fun birthday collage. In addition to demonstrating a real-life demonstration of how to modify and erase a picture's background, we also compiled step-by-step instructions on how to accomplish this. To erase the backgrounds from a photograph, iPhone users may proceed to check out our application.
How to use Erase.Bg to Remove Backgrounds from Photos on iPhone
At first, it could seem daunting to erase the background from your pictures. Fortunately, the background remover application Erase.bg produces results like those created by a specialist with only a few clicks. No matter how many things are in the photograph or how intricate the background seems, abide by the guidelines below to explore how to erase it.
The fantastic portrait feature on the iPhone, which precisely wipes the background from every picture, must be familiar to iPhone users. Nevertheless, there are situations when the blur is inadequate. Sometimes you'll uncover something unpleasant in the background that tends to make you like to eliminate it.
Fortunately, it's now simple and cost-free to erase an unattractive backdrop on your iPhone that comprises irrelevant individuals and things. Additionally, Erase.bg's upcoming, consumer-friendly AI enables you to generate warm, vibrant backgrounds for your photographs, whether you're crafting birthday collages for pals or product marketing graphics, so you will never need to be bothered about the backdrop of your images again.
We've provided a step-by-step tutorial demonstrating how to apply the top iPhone photo editor to erase the background from photographs. To simplify the process for you to comprehend, we have also added a real-life example.
Step 1 – Open Erase.bg on iPhone

Erase.bg should first be launched in Safari, and the Upload Image icon should be clicked. PNG, JPG, and JPEG are all acceptable image formats for utilisation. For Erase.bg to perform more effectively, ensure your photograph has a tidy backdrop.
The Erase.bg tool in iOS 16 can trim off the background of a picture on your iPhone. Drag the picture you intend to get rid of the backdrop from into the Erase.bg tool when it has launched. Then after, tap Edit. You can also download the Erase.bg app from the Apple App Store.
Step 2 – Pick the picture from your files

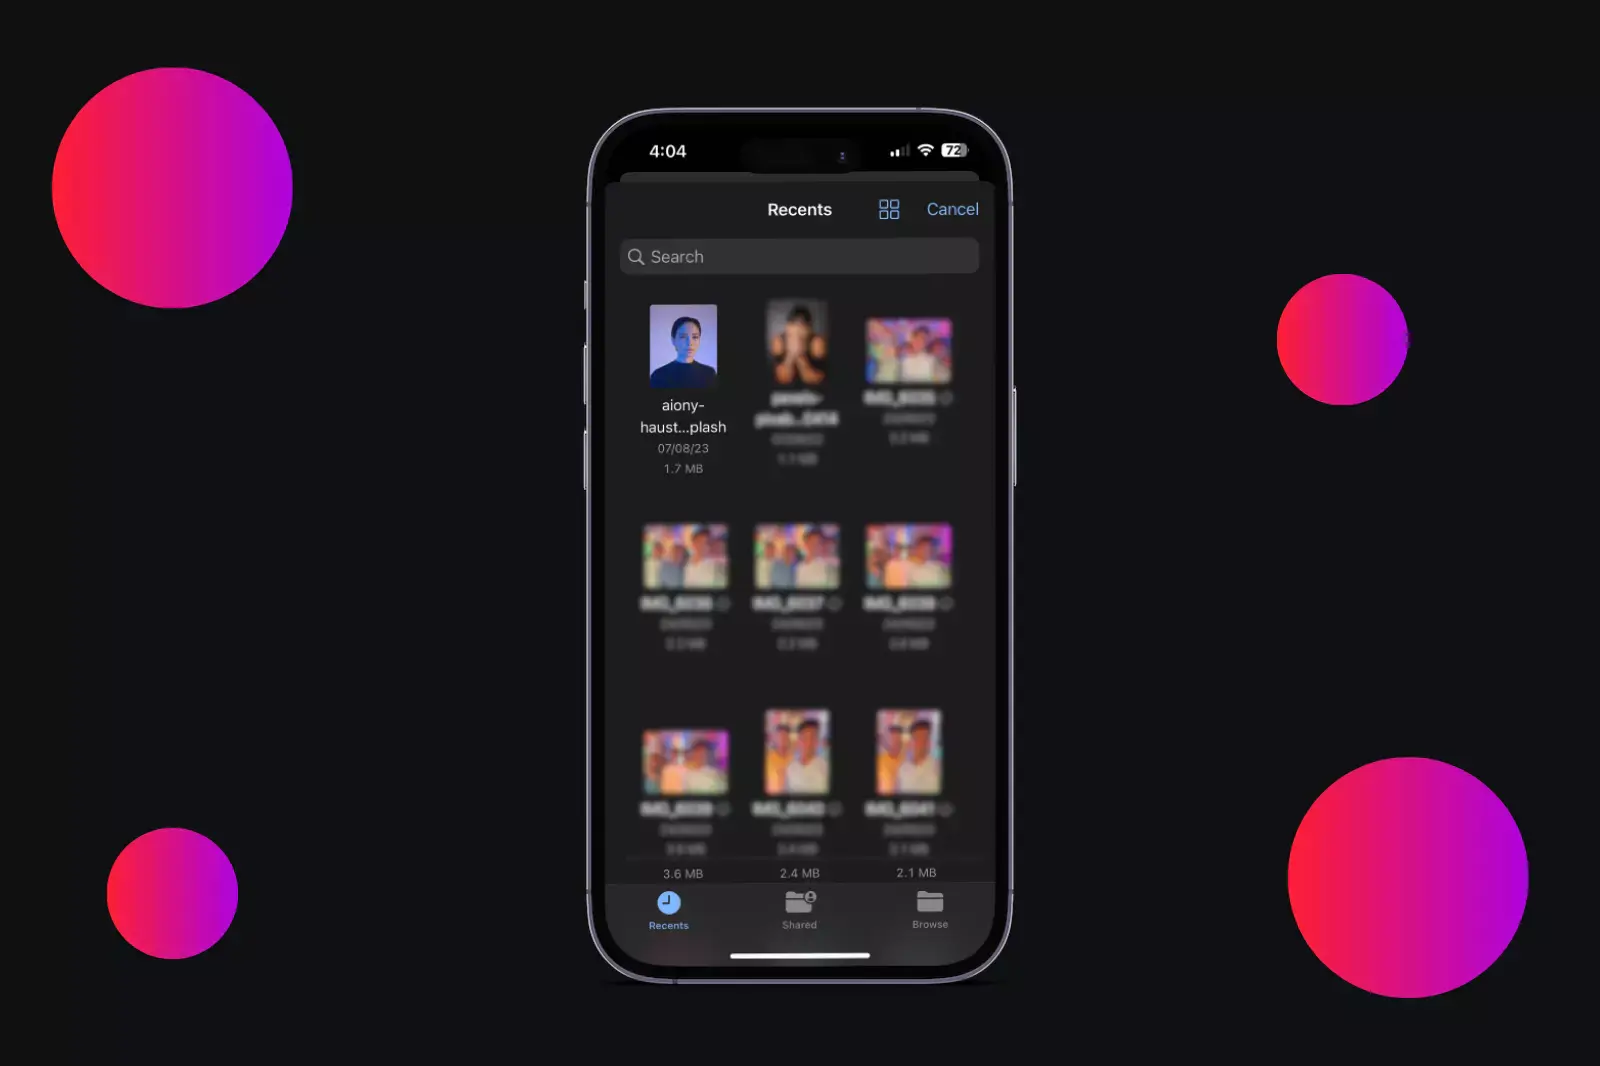
Picking an image from the library, capturing a photograph, or navigating through your files are all alternatives when you hit the Upload Image icon. Select the Background section icon in the Edit pane. A collection of all the pictures presently saved on your iPhone will be available.
Select the picture you want to edit, then click Remove Background from the menu that pops up. The picked photograph will be placed at the forefront of the Edit panel with the background removed. The most significant advantage of employing Erase.bg is that you won't need to perform any actions manually since the AI-based system will seamlessly erase the backdrop with only one tap and at no expense.
Step 3 – Manually modify your picture

For increased autonomy and finesse, if you prefer to undertake a manual adjustment, you may also hit the Eraser button in the top-right corner of your screen. The intelligent brush switch allows you to choose persons or objects you intend to eliminate and conduct accurate and consistent modifications that secure professional outcomes. Utilise the eraser to trim off the photo or wipe everything after picking the subject or section that would need to be removed.
Step 4 – Apply different effects in your cut out photo

Use the Stroke Effect, available in the bottom-right corner of the screen, to add some distinctive effects. Enjoy various stroke patterns to bring a playful touch to your image. The Stroke Effect employs AI to instantly highlight the subject matter or object in your picture such that the photo's background mimics a stroke. Change the hue and size.
Step 5 – Download the modified photo

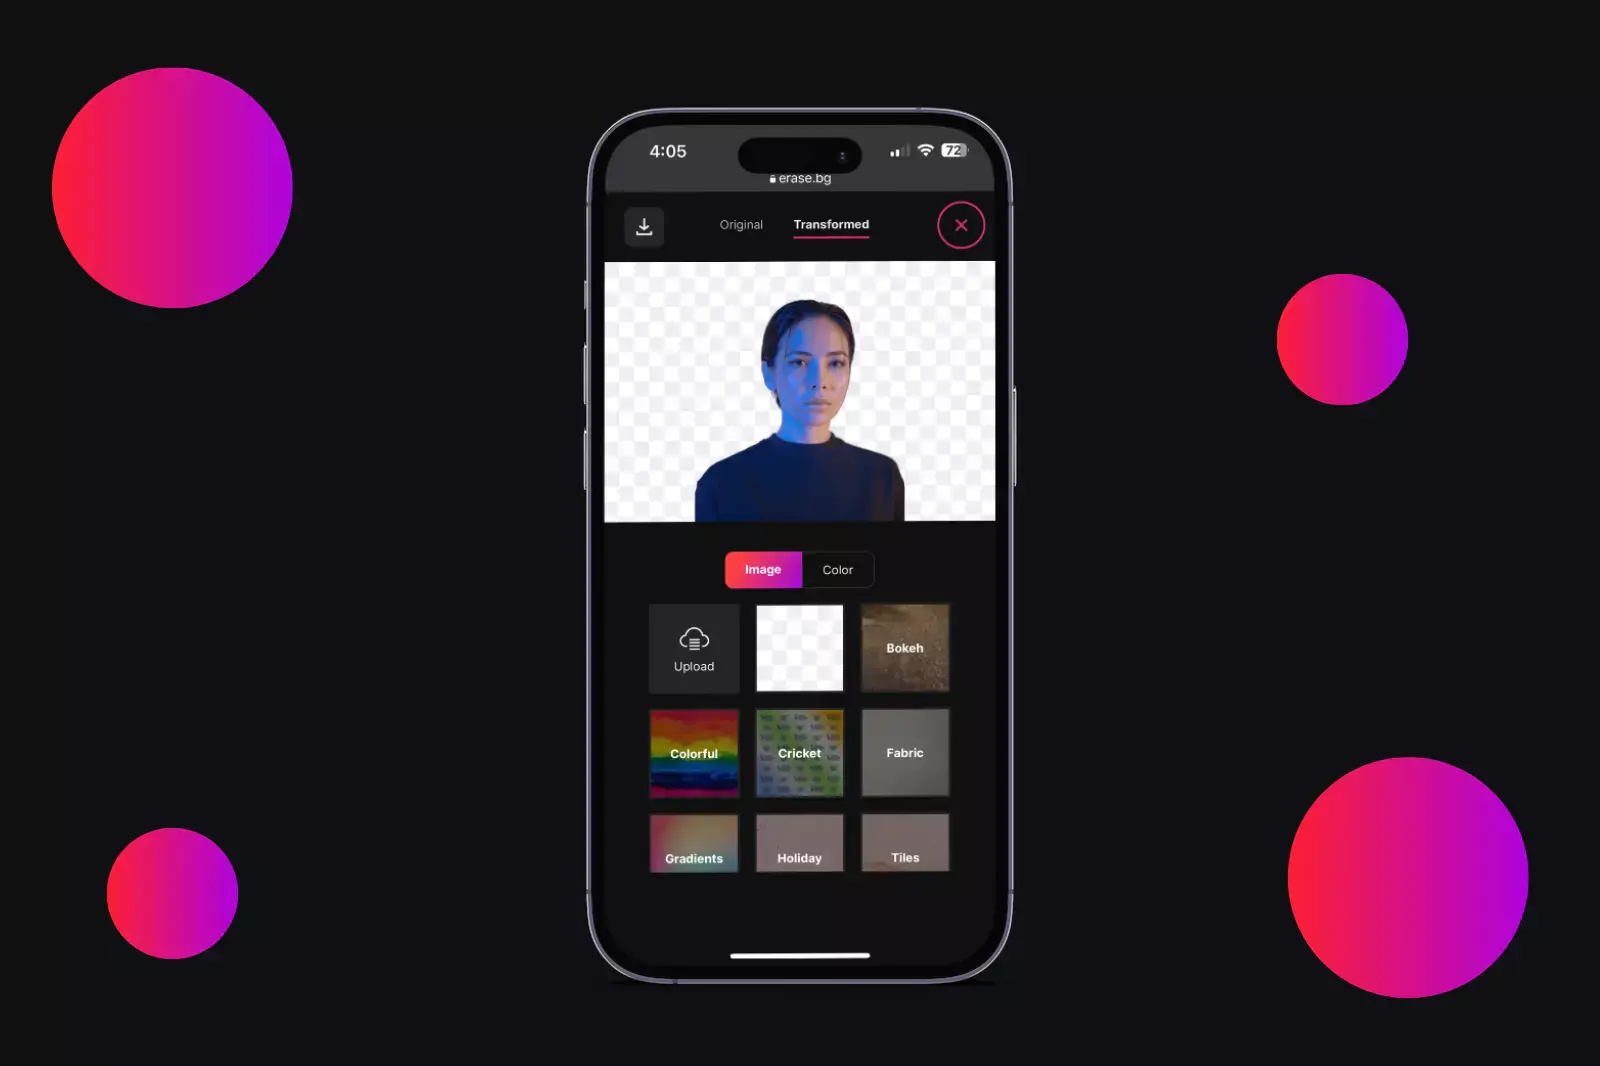
You won't have to exert any effort; sit back and wait a few seconds and you'll have a transparent image. The example demonstrates how the whole backdrop has disappeared, placing the photographs' focus as the only thing evident. Refrain from stressing the striped background; it will get erased after downloading the photo.
It's funny. You can modify the photo on Erase.bg and place the photo on any exotic layout or backdrop of your liking. When you choose the Download option, Safari will ask you if you'd prefer to download this picture (an in-built Safari security tool so that you are refrained from downloading anything unwanted). Go ahead and pick the Option to download once more.
Step 6 – Save edited photos in your library
Shortly after you've picked a photograph, Erase.bg will perform the labor intensive task of eliminating the backdrop from the image. You may download a brand-new image lacking the backdrop from the screen that looks like this.
Erase.bg will commence the time-consuming process of eliminating the background from the picture as soon as you've chosen a photo. At this moment, you may save a brand-new image from the display that does not contain the background at all.
You may scroll to the bottom of the Save Photo option by pressing the downward-pointing arrow in the bottom left corner of the screen. Then, click it. The photo will end up getting saved in your Photos.
Instantly, you have a background-free photo in your hands that you may use however you want. Only iPhones running on iOS 16 or later can eliminate image backdrops from the Photos app. You must be stuck on iOS 15 without the background removal feature if you use an iPhone 7 or older.
Don't worry; a workaround will enable you to eliminate the backdrop in iPhone Photos. We will have to use third-party applications or online tools to erase the background from images because previous iPhones lack the additional features.
On iPhone and Android, you can delete backdrops and objects from photos using a wide range of applications, one of which is Erase.bg. We have comprehensive instructions on how to employ them to get rid of image backdrops for iPhone and Android users.
FAQ's
How can I take a photograph on my iPhone and erase the background?
With iOS 16, there is an unique solution for iPhone image background deletion. If someone shares an image with you in Messages, all you are required to do is long-press the subject to immediately delete the backdrop automatically. As a substitute, you might utilize Erase.bg, the background removal application or tool, which is discussed in this article.
In Apple Photos, is it feasible to delete a background?
Whilst using Mac Preview, it is simple to delete the background in Apple Photos. On the other side, if you are using an iPhone, you'll have to employ the Remove Background tool or a third-party tool like Erase.bg.
Can I alter the background of an iPhone picture?
On the iPhone, replacing the backdrop of a photograph is not achievable naturally, however you can do so by employing third-party online tools like Erase.bg before replacing the background with programs like Pixlr.
How can I get a free background modification on my iPhone?
Accessing the website Erase.bg or the Erase.bg application which is available on the Apple App Store is the most straightforward and inexpensive method to wipe the iPhone's background. With just one touch and for no cost, you can erase the background from any photo with this application or online tool. However, there is a restriction on size.
How can the backgrounds of an image be made white?
When you shift an object from such a photograph on an iPhone running iOS 16, the background of the image appears transparent. After that, you will have to use any iPhone picture editing tool like Erase.bg to render the backdrop white.
How certain areas of an image can be blurred out on an iPhone?
Users having iPhones shoot videos and photographs of a wide range of subjects for both personal and professional reasons. Photography is greatly aided by the extra functions and modes provided by the iPhone 13 Pro Max, iPhone 13, iPhone 12 Pro, iPhone 12, and iPhone 11. The portrait Feature on the iPhone is the simplest method to blur particular areas of a picture. However, artificial things are not supported in portrait mode, which only operates well with humans. The technique to blur a section of a photograph online through using iPhone's portrait mode is outlined below. Step 1 - Use the Camera app on your iPhone to get going. Tap "Portrait" once. The "Natural Lights" preset is the in built setting when taking photographs. One can, however, move to the right and choose the preferred one. Step 2 - The object must now be within two to eight feet away from the camera's lens, as determined by the user. Before clicking, give the screen a quick glimpse. Make absolutely sure the photo is sharp and the backdrop is blurred. Step 3 - Hit the shutter release. The image has so many blurry regions. It is made available to the user through the gallery.